

claude command in any terminal and collaborate with AI in programming using natural language.
This document mainly introduces how to install, configure, and use Claude Code CLI through the proxy service of AceData Cloud in the terminal.
Application Process
To use Claude Messages service page, first open the Ace Data Cloud Console and copy your API Token.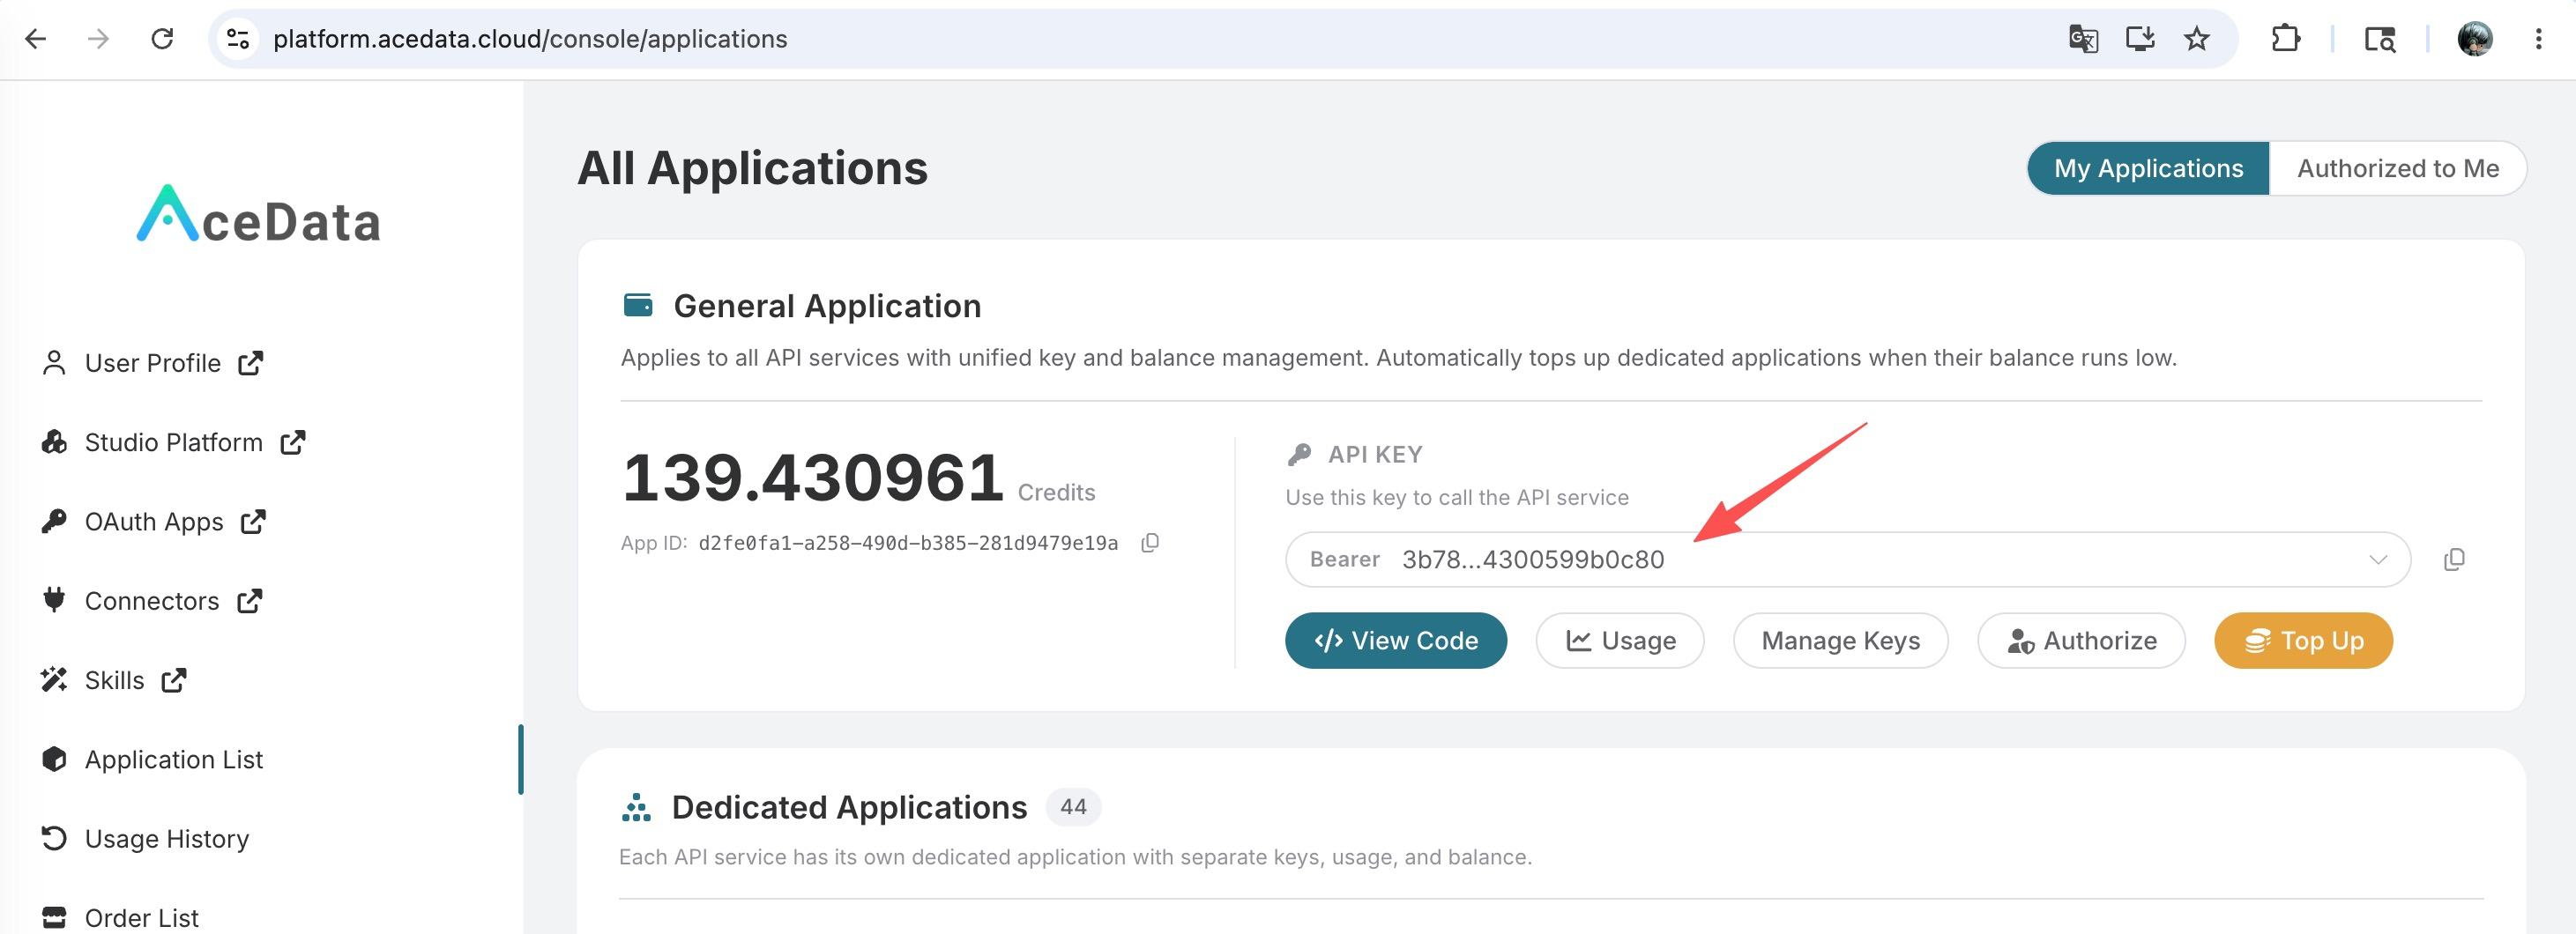 If you are not logged in, you will be redirected to sign in and brought back to this page automatically.
A single API Token works across every service on the platform — no need to subscribe per service. New accounts receive free starter credit; when it runs low you can top up your shared balance in the console.
If you are not logged in, you will be redirected to sign in and brought back to this page automatically.
A single API Token works across every service on the platform — no need to subscribe per service. New accounts receive free starter credit; when it runs low you can top up your shared balance in the console.
📘 Full documentation: Claude Messages service page →
Install Claude Code
System Requirements
- macOS, Linux, or Windows (including WSL)
- Node.js is not required; the native installation method will automatically handle dependencies
Installation Methods
Claude Code supports multiple installation methods: Method 1: Native Installation (Recommended) macOS / Linux / WSL:Configure AceData Cloud API
After installation, you will be prompted to log in to your Anthropic official account by default. We can use environment variables to configure the AceData Cloud proxy API, without the need for an official subscription.Configure Environment Variables
There are two ways to configure environment variables; you can choose either. Method 1: Set in Shell Configuration File (Recommended) Add the following content to your Shell configuration file (~/.zshrc, ~/.bashrc, or ~/.bash_profile), replacing {token} with the API token you obtained from the AceData Cloud console:
~/.claude/settings.json (create it if it does not exist) and add the env configuration:
Tip: The API token can be viewed in the AceData Cloud console. The value ofANTHROPIC_AUTH_TOKENwill automatically have theBearerprefix added when sent to the server.
Getting Started
Start Interactive Mode
Open the terminal, navigate to your project directory, and then run:Common Commands
Interactive Mode Commands
In interactive mode, you can use the following built-in commands:Conversation Interaction Examples
Advanced Usage
Piping and Scripting
Claude Code follows the Unix philosophy and supports piping and scripting operations:Environment Variable Reference
Here are the commonly used environment variables supported by Claude Code:CLAUDE.md Project Memory
Create aCLAUDE.md file in the project root directory to provide project-specific instructions and context for Claude Code. Claude will automatically load this file at startup.
Frequently Asked Questions
What to do if the connection fails?
- Check if the
~/.claude/config.jsonfile is correctly created, with the content{"primaryApiKey": "self"} - Confirm that the environment variables are set correctly:
- Confirm that the API token is valid (can be checked in the console)
- Try restarting the terminal
command not found: claude
If you seecommand not found after installation, please try:
- Close and reopen the terminal
- Check PATH:
echo $PATH - Reinstall:
curl -fsSL https://claude.ai/install.sh | bash
How to check remaining quota?
Log in to the AceData Cloud console to view the current account’s remaining quota and usage.Learn more
- 📖 Claude Code CLI Official Documentation
- 📋 CLI Command Reference
- 🔧 AceData Cloud Claude Code Service
- 💬 If you have any questions, feel free to contact us through the platform’s customer service