Application Process
To use Claude Messages service page, first open the Ace Data Cloud Console and copy your API Token.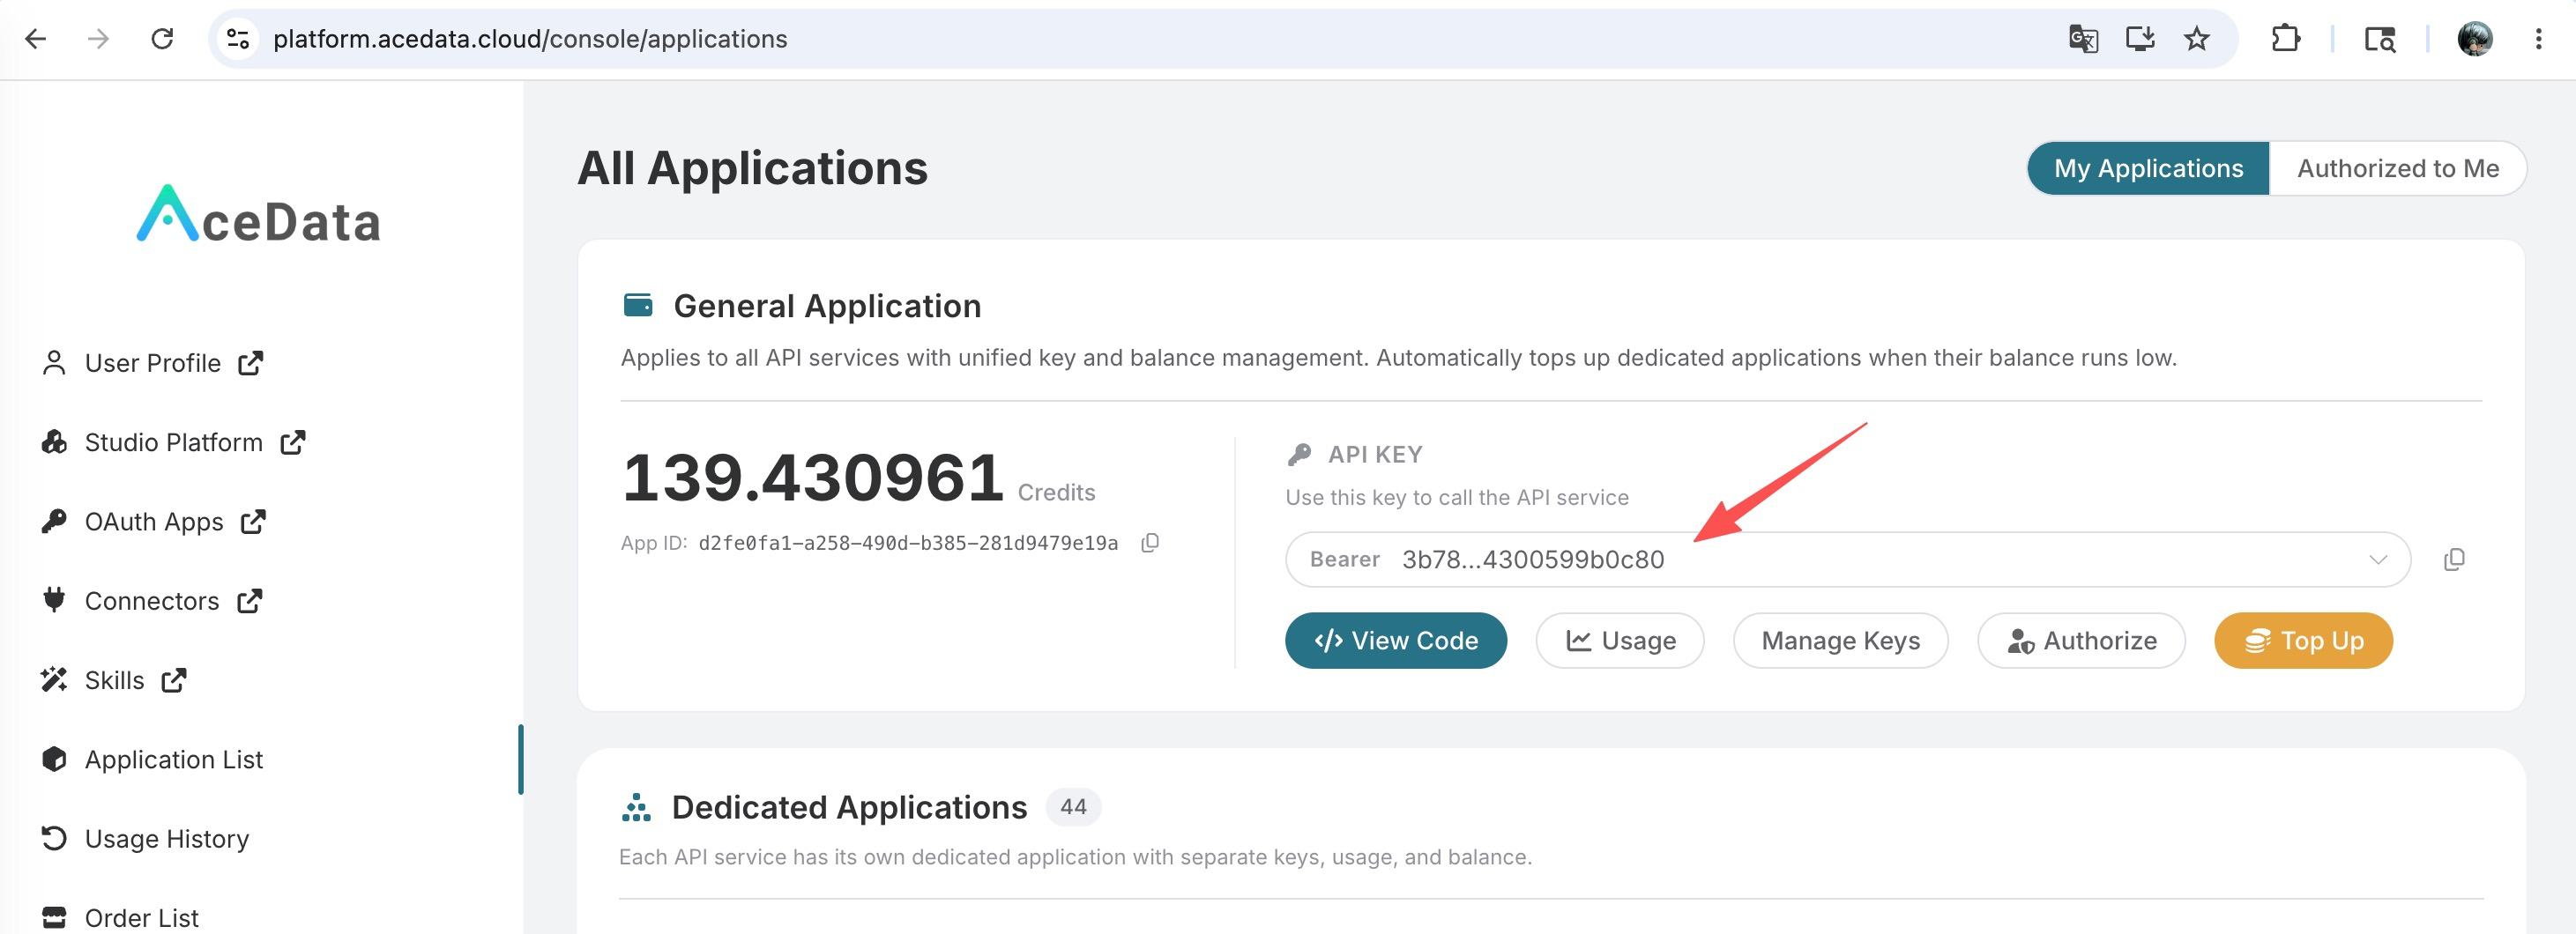 If you are not logged in, you will be redirected to sign in and brought back to this page automatically.
A single API Token works across every service on the platform — no need to subscribe per service. New accounts receive free starter credit; when it runs low you can top up your shared balance in the console.
If you are not logged in, you will be redirected to sign in and brought back to this page automatically.
A single API Token works across every service on the platform — no need to subscribe per service. New accounts receive free starter credit; when it runs low you can top up your shared balance in the console.
📘 Full documentation: Claude Messages service page →
Supported IDEs
The Claude Code plugin supports the following JetBrains IDEs:| IDE | Applicable Languages/Scenarios |
|---|---|
| IntelliJ IDEA | Java, Kotlin, Scala, etc. |
| PyCharm | Python |
| WebStorm | JavaScript, TypeScript |
| GoLand | Go |
| PhpStorm | PHP |
| Android Studio | Android Development |
| Others | Most JetBrains IDEs are supported |
Installation
Prerequisites
The Claude Code JetBrains plugin depends on the Claude Code CLI, so please ensure that the CLI is installed first:Install Plugin
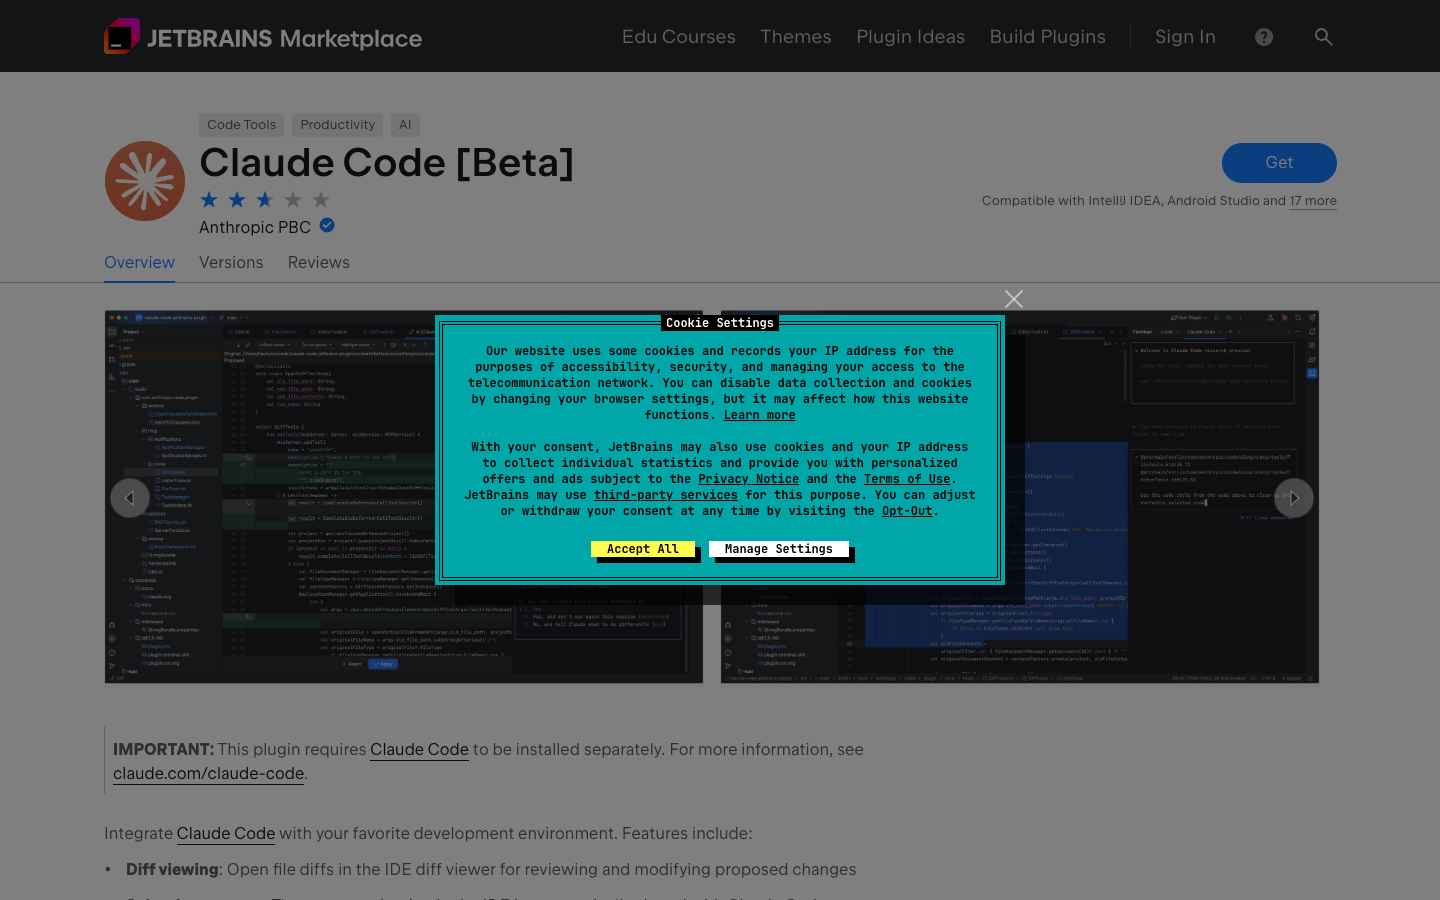
- Open JetBrains IDE
- Go to Settings → Plugins → Marketplace
- Search for Claude Code
- Click Install to install the plugin
- Restart IDE
Important: After installing the plugin, you need to completely restart the IDE (it may require multiple restarts) for it to take effect.
Configure AceData Cloud API
The Claude Code JetBrains plugin runs theclaude command through an integrated terminal, so the environment variable configuration method is the same as for the CLI.
Step 1: Create config.json
Create the configuration file for Claude Code:| System | Path |
|---|---|
| macOS / Linux | ~/.claude/config.json |
| Windows | C:\Users\{username}\.claude\config.json |
Step 2: Configure Environment Variables
Method 1: Set in Shell Configuration File (Recommended) Add the following content to your~/.zshrc or ~/.bashrc, replacing {token} with your API token:
source ~/.zshrc to make the configuration effective, then restart JetBrains IDE.
Method 2: Set in Claude Code settings.json
Edit ~/.claude/settings.json (create it if it does not exist):
Tip: The API token can be viewed in the AceData Cloud Console.
Basic Usage
Start from the IDE Integrated Terminal
Open the integrated terminal of JetBrains IDE and run:Connect from an External Terminal
If you run Claude Code in an external terminal, you can use the/ide command to connect to JetBrains IDE:
Shortcuts
| Shortcut | Function |
|---|---|
Cmd+Esc (Mac) / Ctrl+Esc (Windows/Linux) | Quickly open Claude Code |
Cmd+Option+K (Mac) / Alt+Ctrl+K (Windows/Linux) | Insert file reference (e.g., @File#L1-99) |
Integrated Features
The Claude Code JetBrains plugin provides the following integrated features:- Diff View: Code changes are displayed directly in the IDE’s Diff viewer
- Context Selection: The currently selected code and tabs are automatically shared with Claude
- File Reference: Quickly reference files and line numbers using shortcuts
- Diagnostic Sharing: Lint, syntax errors, and other diagnostic information in the IDE are automatically shared with Claude
Plugin Settings
You can configure in Settings → Tools → Claude Code [Beta]:| Setting | Description |
|---|---|
| Claude command | Custom Claude command path (e.g., /usr/local/bin/claude) |
| Enable automatic updates | Automatically check and install plugin updates |
| Enable using Option+Enter | Use Option+Enter to insert a new line in the prompt box on macOS |
WSL User Configuration
If using in a WSL environment, set the Claude command to:Ubuntu with your WSL distribution name)
Frequently Asked Questions
What to do if the connection fails?
- Check if the
~/.claude/config.jsonfile is created correctly - Confirm that the environment variables are set correctly
- Confirm that the API token is valid (can be viewed in the console)
- Restart JetBrains IDE and try again
What if the plugin does not work?
- Ensure Claude Code is run from the project root directory
- Check if the plugin is enabled in the IDE settings
- Completely restart the IDE (may require multiple restarts)
- If using remote development mode, ensure the plugin is installed on the remote host (Settings → Plugin (Host))
IDE not detected?
- Confirm that the plugin is installed and enabled
- Restart the IDE
- Ensure Claude Code is running in the integrated terminal
- WSL users please refer to the WSL Troubleshooting Guide
command not found
If clicking the Claude icon prompts “command not found”:- Confirm that the CLI is installed:
which claude - Configure the full path of the Claude command in the plugin settings
- WSL users use the above WSL command format
How to check the remaining quota?
Log in to the AceData Cloud Console to view the current account’s remaining quota and usage.Learn more
- 📖 Claude Code JetBrains Official Documentation
- 🔧 AceData Cloud Claude Code Service
- 💬 If you have any questions, feel free to contact us through the platform’s customer service.