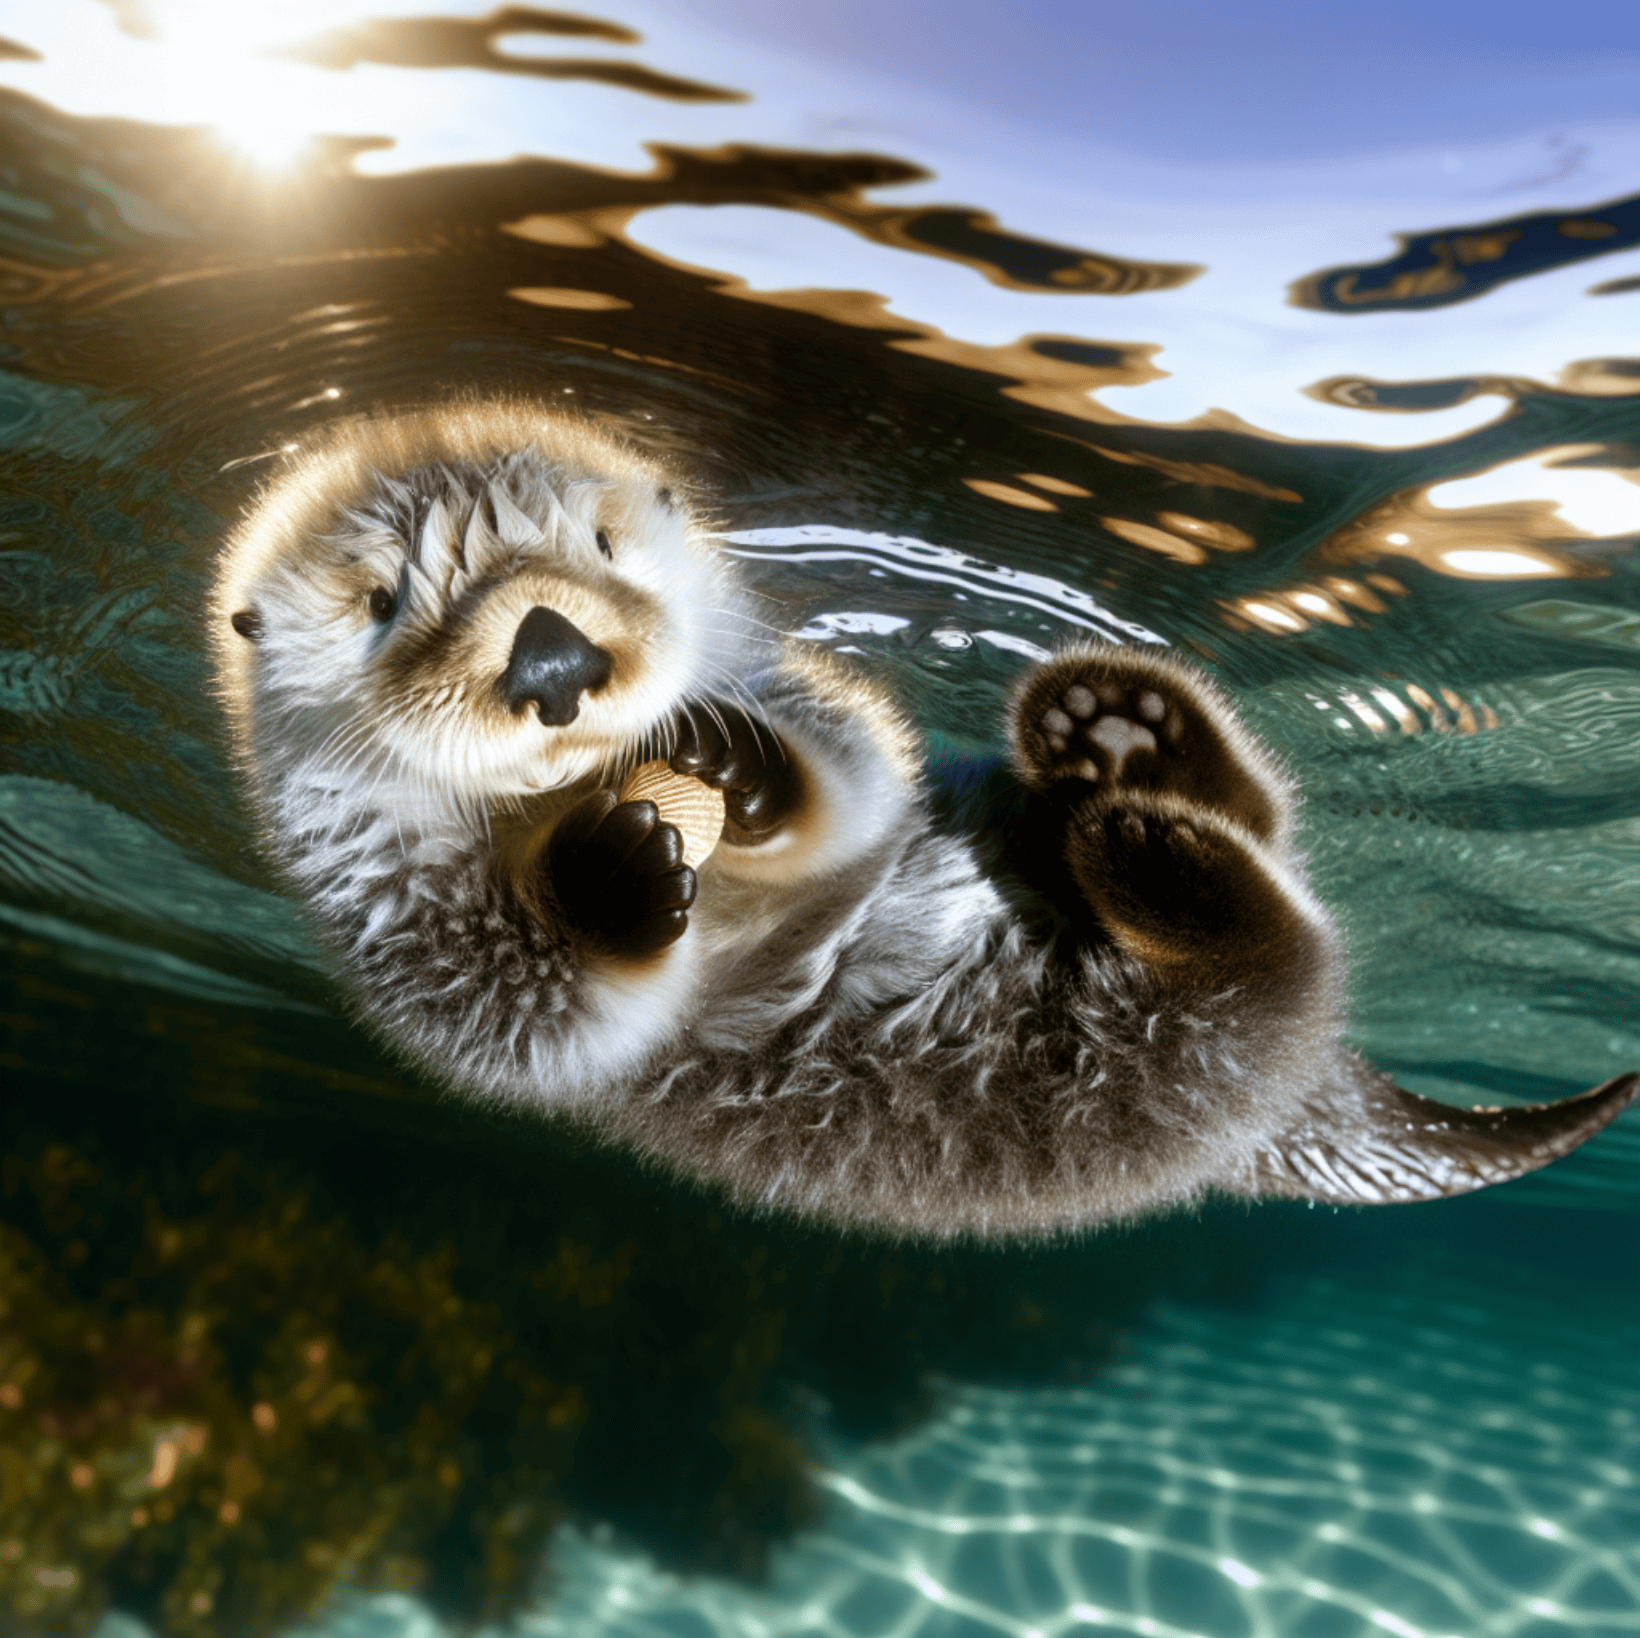
dall-e-3, the text rendering-capable gpt-image-1, the latest generation gpt-image-2, and the series of models nano-banana / nano-banana-2-lite / nano-banana-2 / nano-banana-pro that can be accessed through the same interface. They can all generate high-quality images based on text descriptions.
This document mainly introduces the usage process of the OpenAI Images Generations API, allowing us to easily utilize the image generation capabilities of the OpenAI series.
Application Process
To use the OpenAI Images Generations API, first go to the Ace Data Cloud Console to obtain your API Token for backup.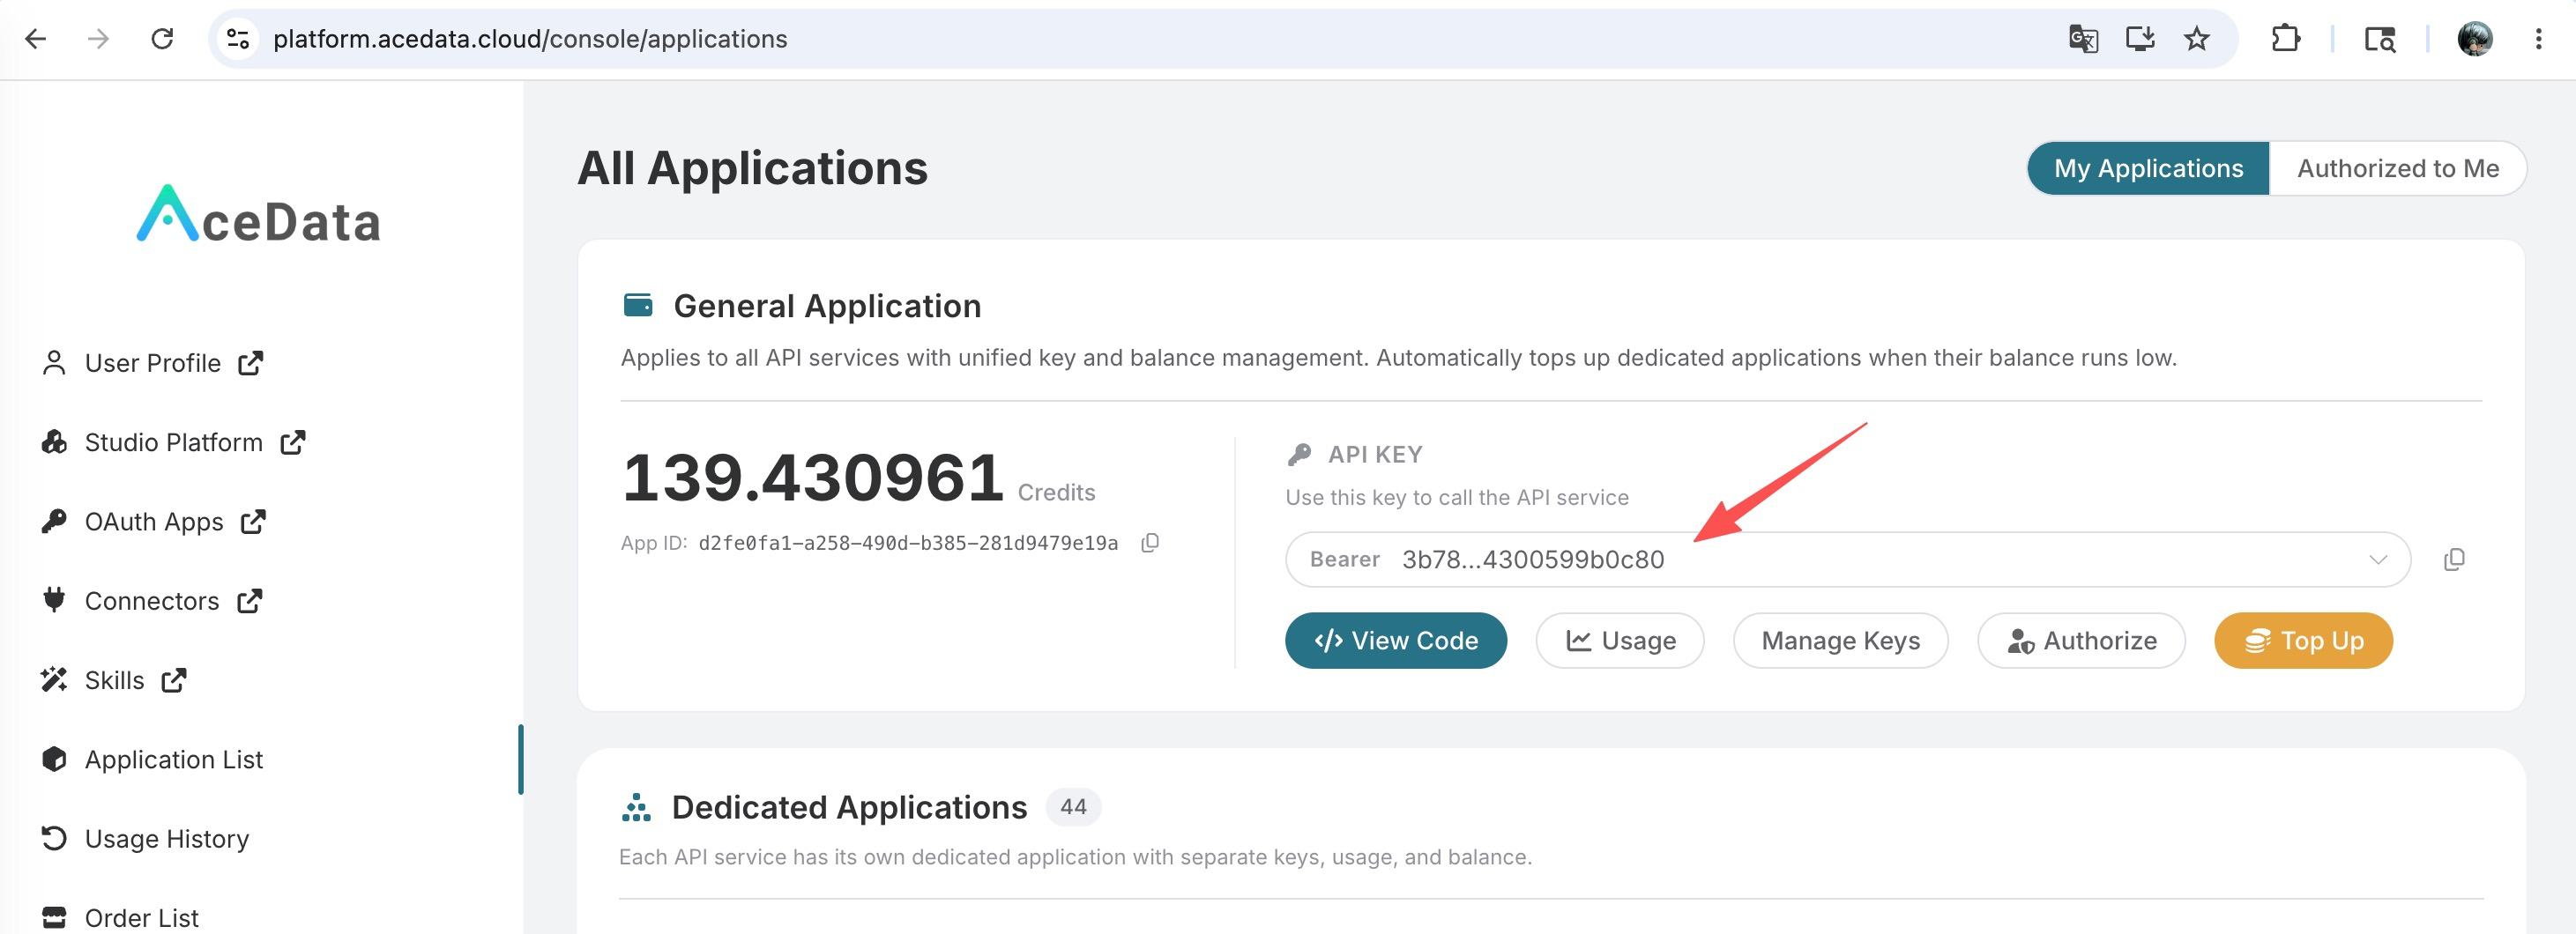 If you are not logged in or registered, you will be automatically redirected to the login page inviting you to register and log in, and after completion, you will be automatically returned to the current page.
One API Token can call all services on the platform without needing to apply separately for each service. The first application will grant a free quota for a trial experience; when the quota is insufficient, you can recharge the general balance in the console.
If you are not logged in or registered, you will be automatically redirected to the login page inviting you to register and log in, and after completion, you will be automatically returned to the current page.
One API Token can call all services on the platform without needing to apply separately for each service. The first application will grant a free quota for a trial experience; when the quota is insufficient, you can recharge the general balance in the console.
📘 Complete documentation: OpenAI Images Generations API →
GPT-Image-2 Model
gpt-image-2 is the new generation image generation model launched by OpenAI, which has significant improvements over dall-e-3 and gpt-image-1 in the following aspects:
- Stronger instruction-following ability: Can accurately understand complex compositions, counting, positional relationships, and other structured instructions.
- Clearer text rendering: English and numbers in scenarios such as posters, menus, infographics, and logos are almost never garbled.
- Richer style expression: Natively supports various styles such as cinematic portraits, retro posters, children’s illustrations, product photography, and infographics.
- Native multi-aspect ratio + high-resolution support: Covers 5 aspect ratios (1:1, 4:3, 3:4, 16:9, 9:16) with a total of 3 resolution tiers (1K / 2K / 4K).
model field to gpt-image-2. The url in the returned result is a permanently hosted image link on platform.cdn.acedata.cloud, which can be directly opened in a browser or embedded in a webpage.
Official Relay / Reverse Variant (:official / :reverse)
gpt-image-2 defaults to the reverse route. You can explicitly choose the route by appending the model name suffix:
gpt-image-2:official: Official relay route. Supportsn > 1(returns multiple images at once) and true 2K / 4K resolution, billed per image at double the price of the defaultgpt-image-2. Currently only provided by the openai-hk channel; if the route is unavailable, it will return an error directly and will not downgrade to the reverse route.gpt-image-2:reverse: Completely equivalent to the defaultgpt-image-2(reverse route), used to explicitly declare the reverse route, with unchanged pricing.
The restrictions mentioned below regarding thenparameter only apply to the default / reverse routes;gpt-image-2:officialsupportsn > 1and is billed per image.
Supported size Values
gpt-image-2 only checks the format of size; as long as it is not auto or an empty string, it must match WIDTHxHEIGHT (e.g., 1024x1024, 2048x1152, 800x600); any other form will return 400. All sizes (1K / 2K / 4K / custom) are billed uniformly per image, without additional charges for size.
Upstream hard constraints on custom sizes: both width and height must be multiples of 16, long side ≤ 3840, total pixel count ≤ 8,294,400. Exceeding these limits will be rejected by upstream and return a 4xx.
You can also passsize: "auto"or omit thesizefield, in which case the model will choose the default size itself. The upstream output under the 1K tier does not guarantee strict pixel alignment—if you pass1024x1024, you might receive1254x1254, while maintaining the aspect ratio. If you re-pass it assize, the billing remains unchanged. A single call for 4K usually takes 4–8 minutes; it is recommended to use it with thecallback_urlfor asynchronous callbacks mentioned later.
About theBelow are several real examples from different angles to intuitively experience the capabilities ofnParametergpt-image-2currently does not supportn > 1: this parameter will be silently ignored, whether you passn=1orn=10, a single request will only return 1 image and will only be billed for 1 image. If you need to obtain multiple candidate images at once, please initiate multiple requests concurrently (it is recommended to pass differentpromptsor differentseeds, otherwise the images obtained may be highly similar). This limitation also applies togpt-image-1/gpt-image-1.5, as well as thenano-banana/nano-banana-2-lite/nano-banana-2/nano-banana-proseries.dall-e-2is currently the only model that natively supportsn > 1;dall-e-3only supportsn = 1.
gpt-image-2.
Scenario 1: Cinematic Portraits
Film terminology (35mm film, shallow depth of field, neon light, etc.) can be used in the prompts to precisely control the atmosphere and texture. Python sample call code: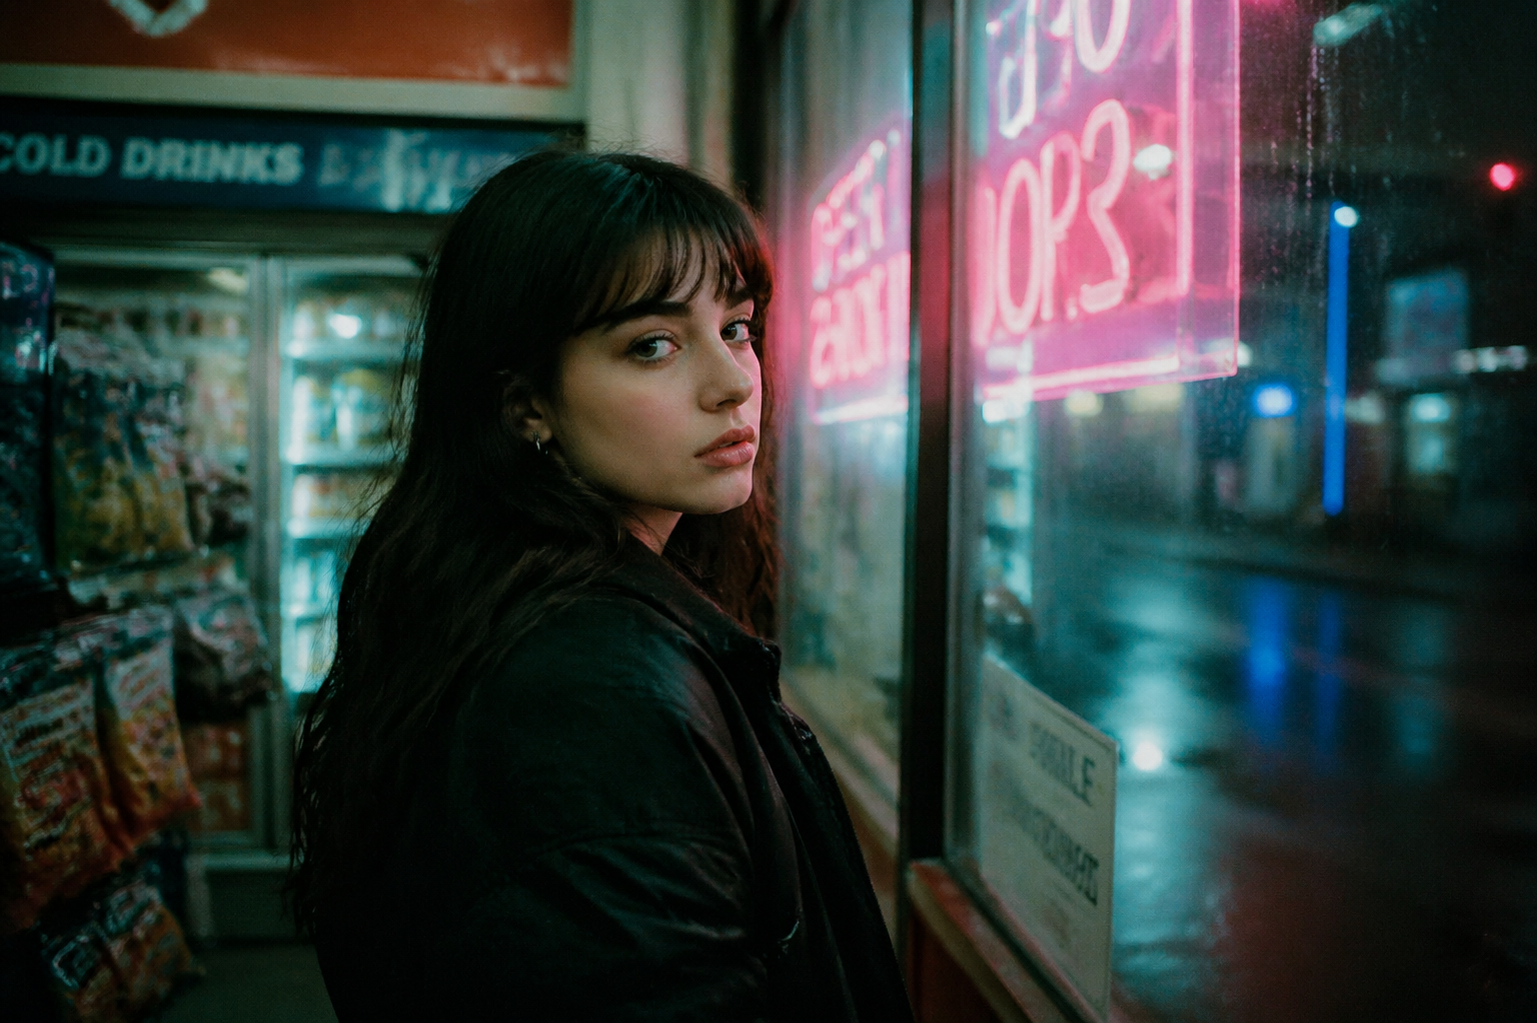
Scene Two: Vintage Travel Poster (with Text Rendering)
gpt-image-2 performs stably in typesetting and font rendering, making it very suitable for generating designs with text such as posters, menus, and greeting cards.
url field in the returned result is as follows:
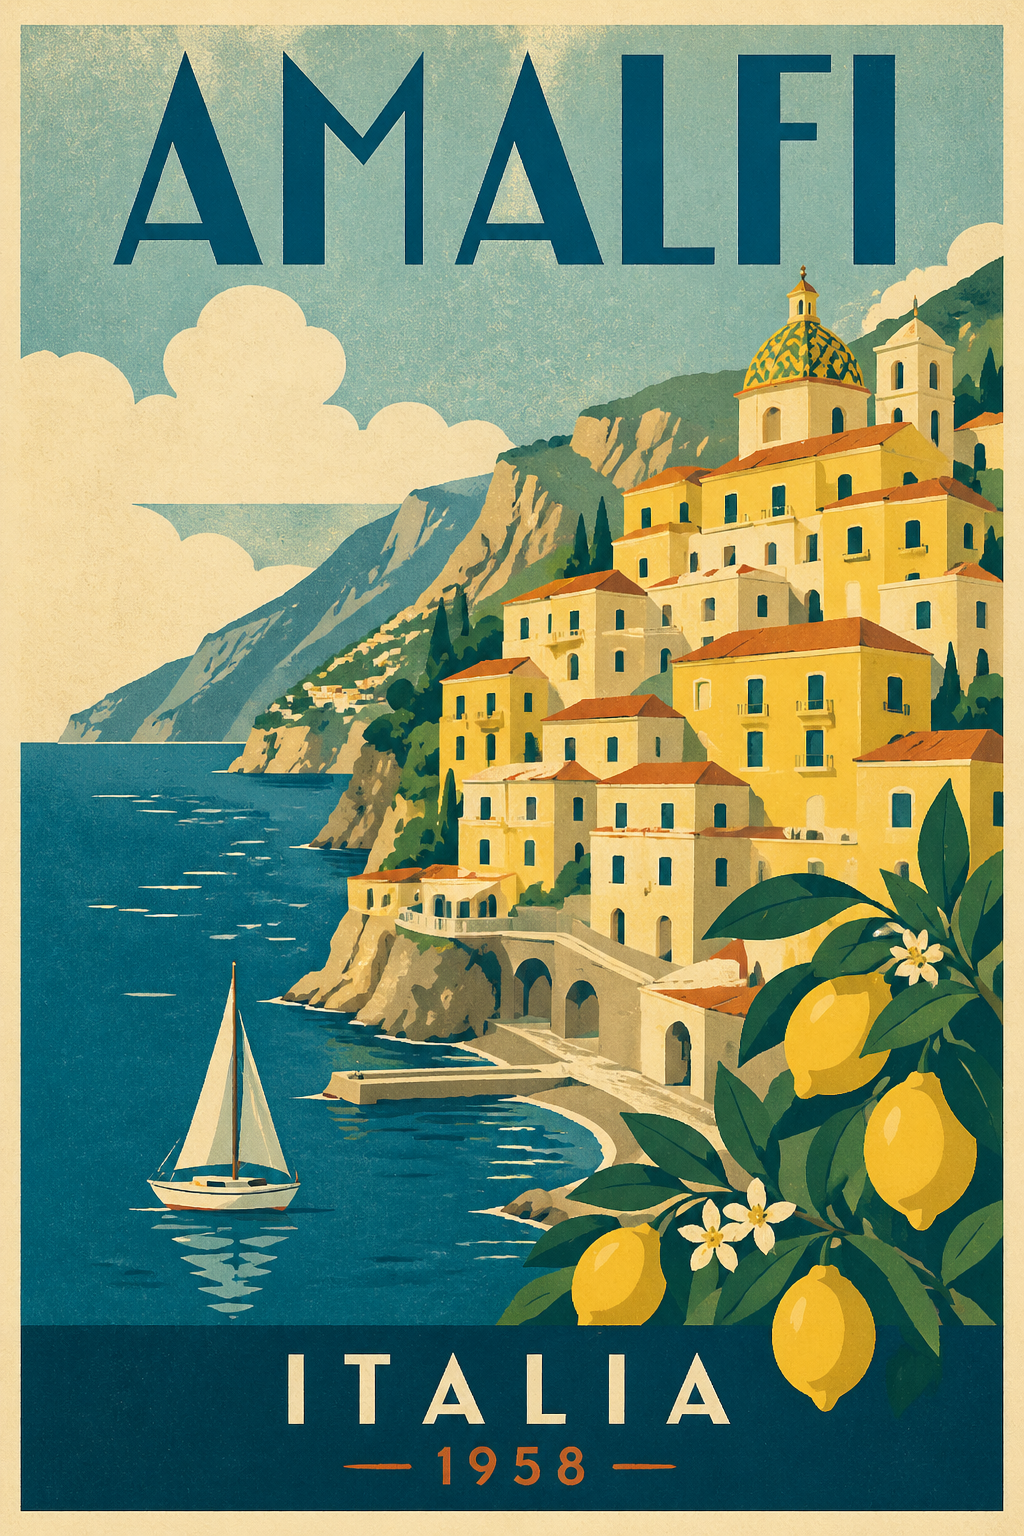
AMALFI and ITALIA 1958 were also rendered clearly and correctly.
Scene Three: Complex Composition and Counting
The following prompt is used to test the model’s ability to follow structured instructions regarding “quantity” and “position.”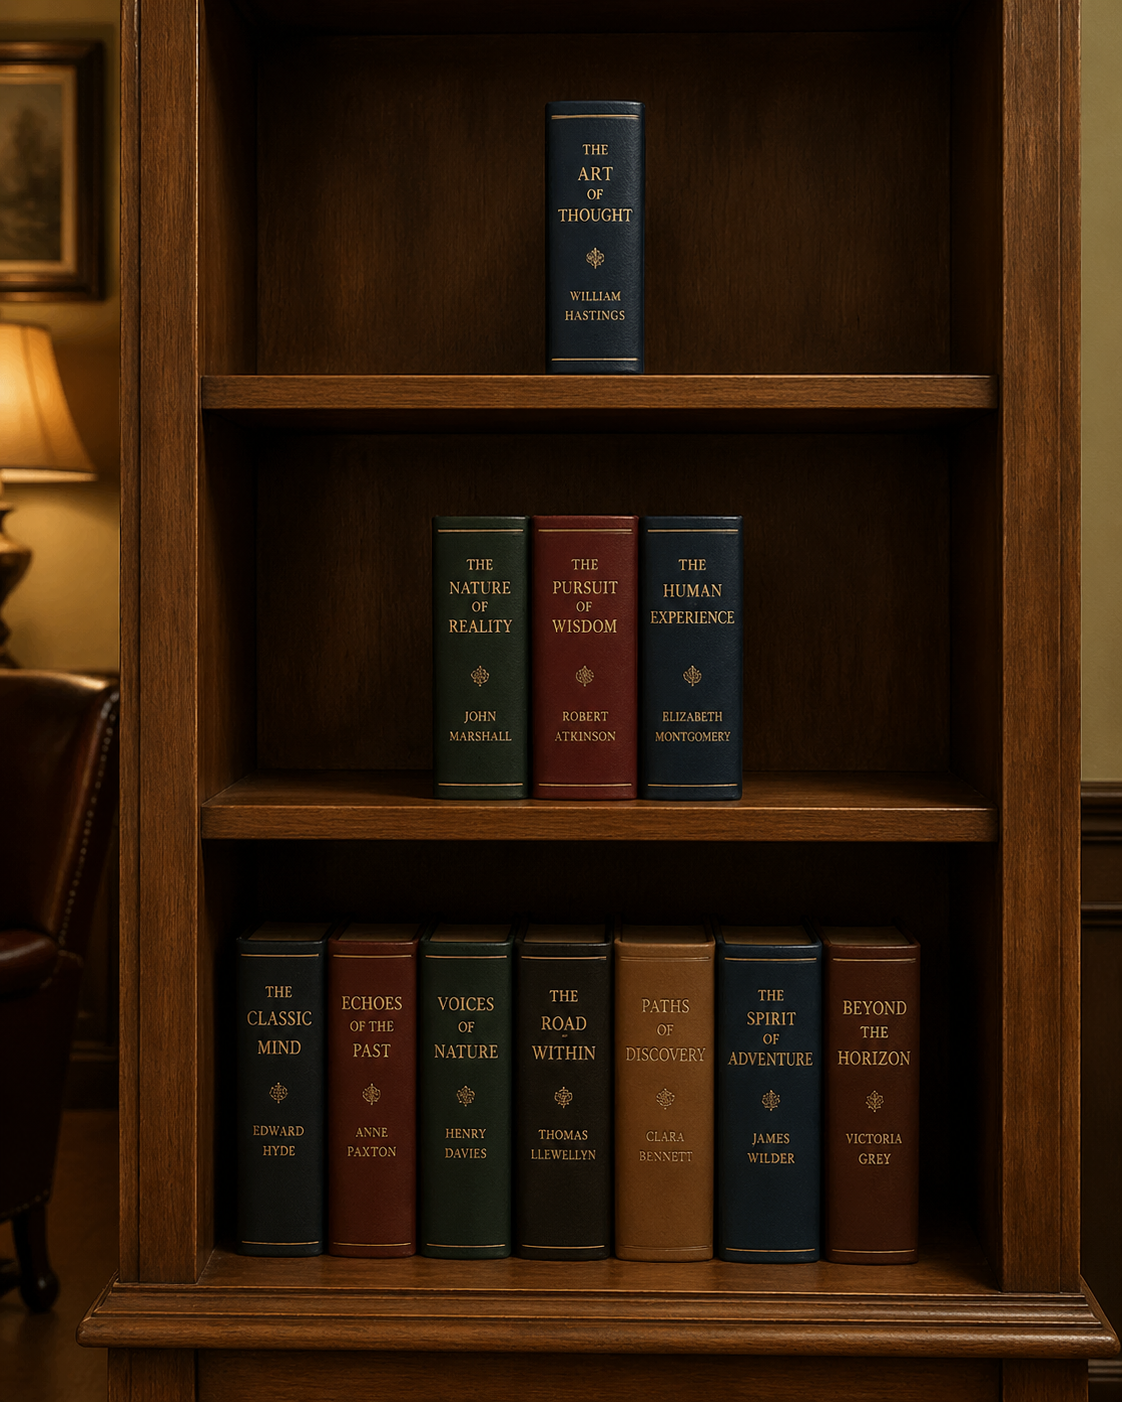
dall-e-3 era.
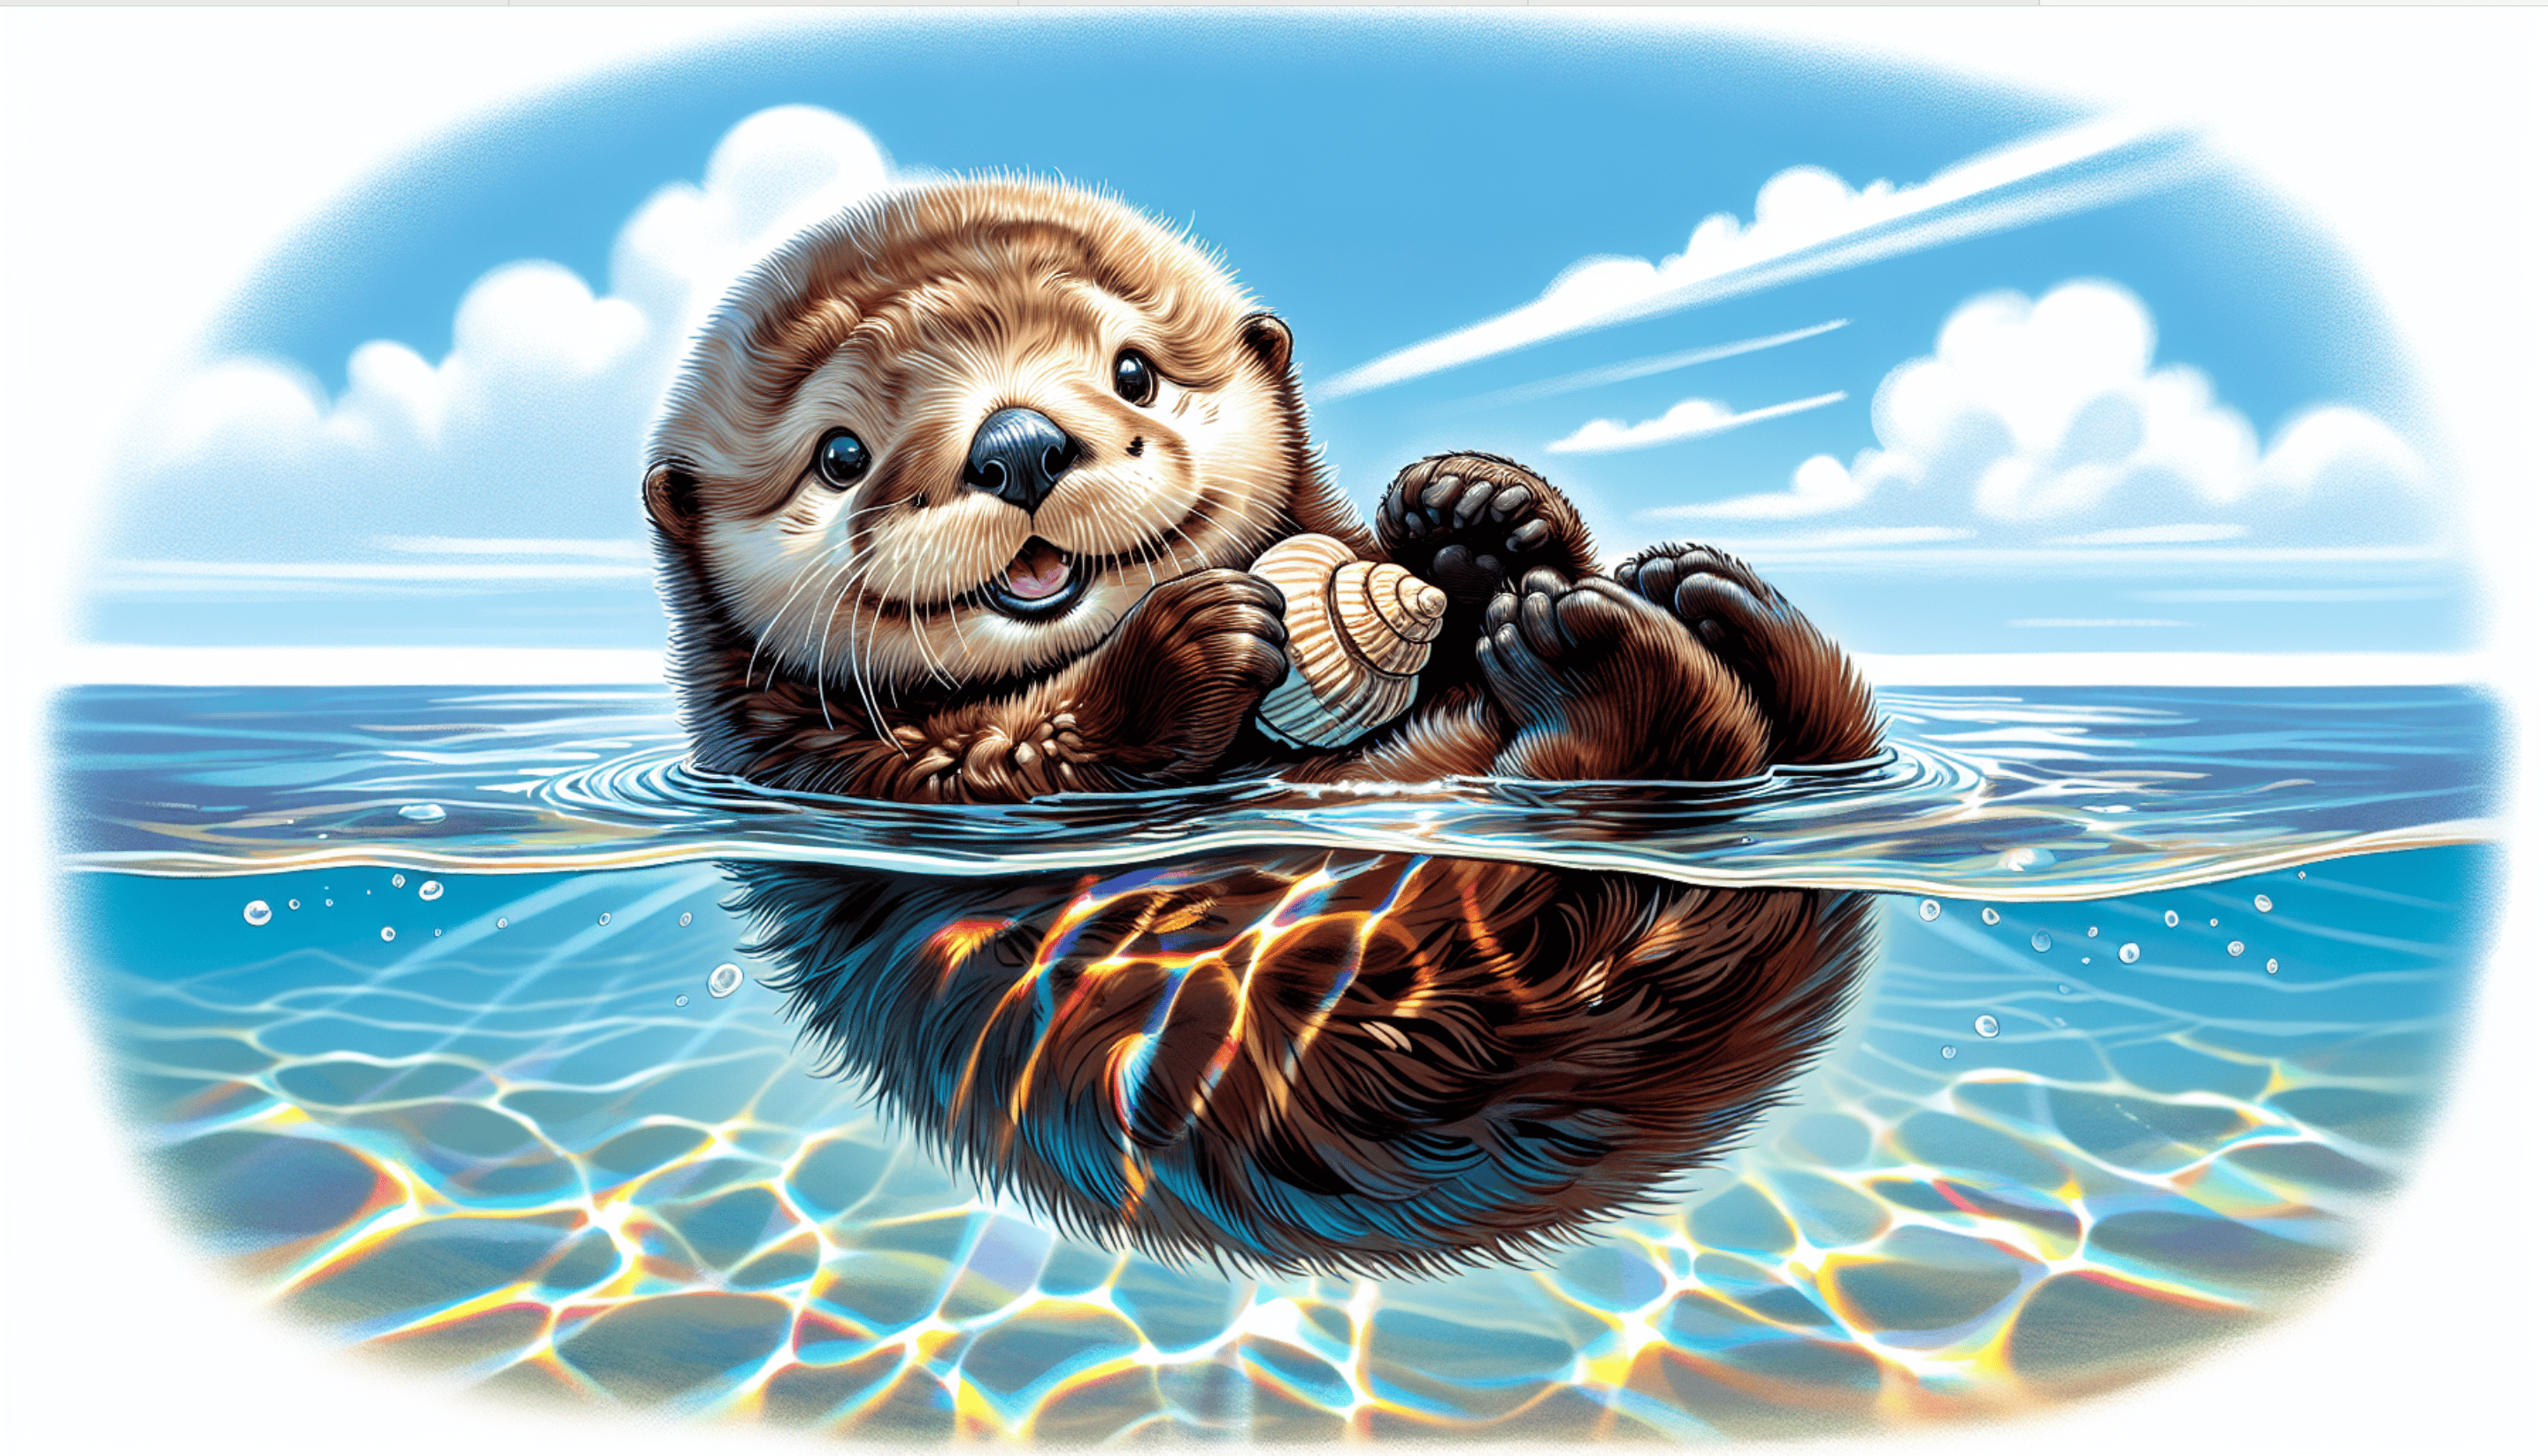
Scene Four: Illustration Style (Landscape)
By specifying artistic media and emotional keywords, the model can be guided to produce stylized illustrations.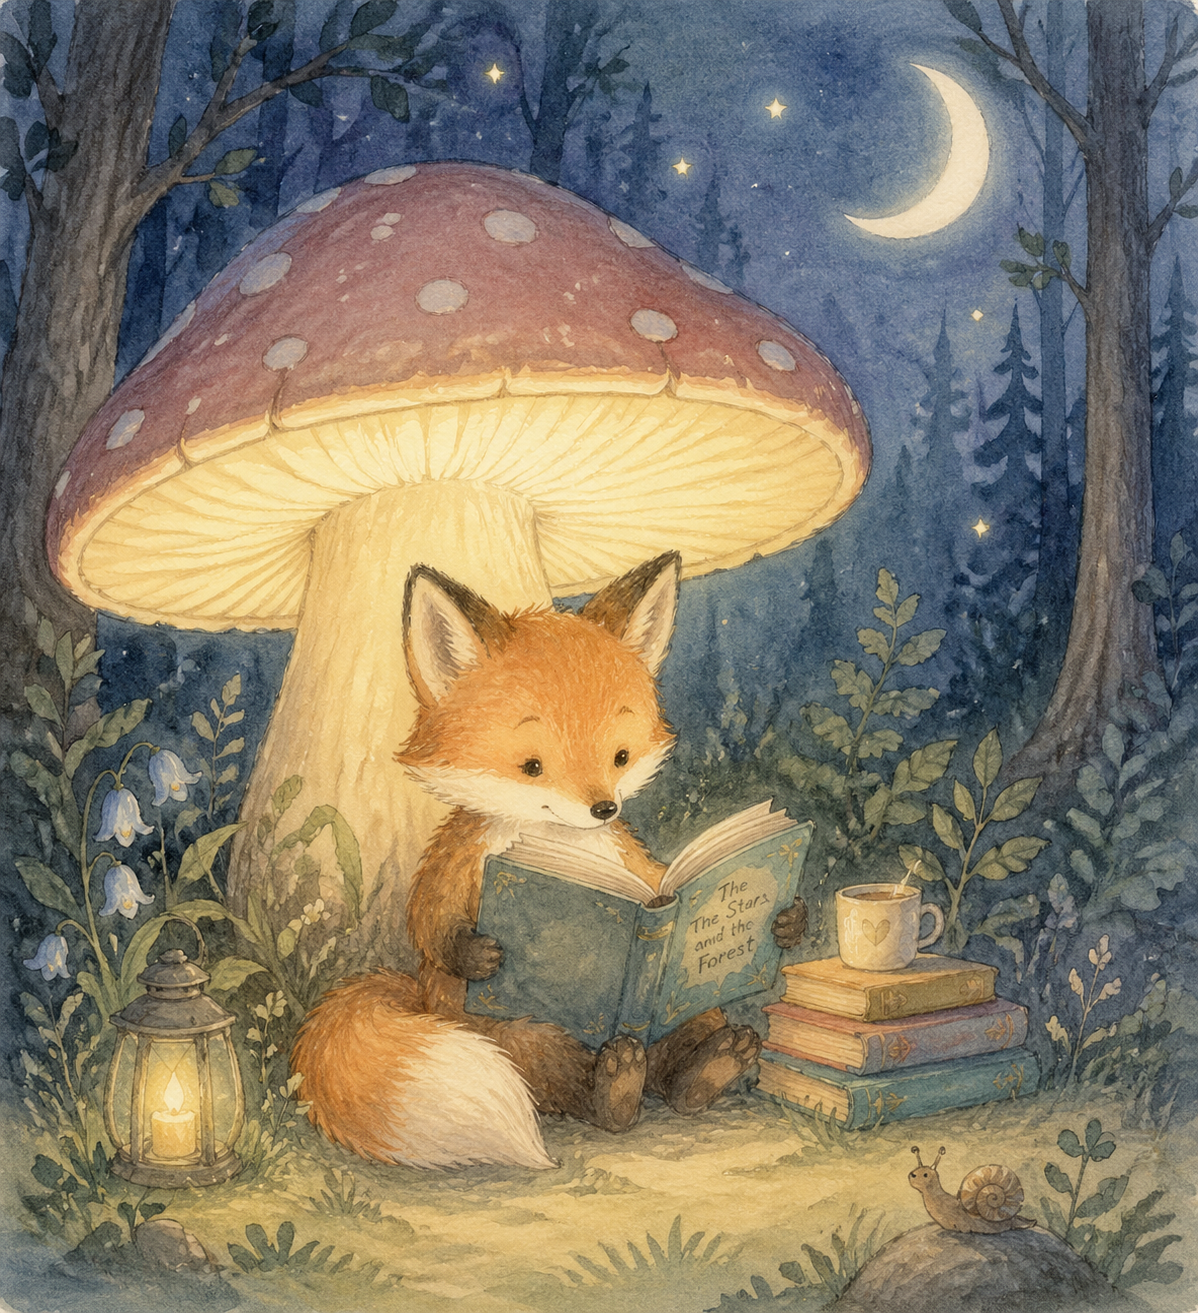
Asynchronous and Callback
gpt-image-2 typically requires 60 to 90 seconds for a single call. If you do not wish to maintain a long connection, you can use the callback_url asynchronous callback mechanism introduced later in this article. The calling process is completely consistent with other models.
Nano Banana Series Models
Thenano-banana series is an image generation model based on Gemini, which has been integrated through the same /openai/images/generations interface. There is no need to switch endpoints; just change the model to any one in the table below.
Important: Parameter Support Range Nano Banana connects to the OpenAI protocol through an adaptation layer and supports only the following parameters compared togpt-image-*:model,prompt,size.
sizewill be mapped to internalaspect_ratioaccording to the table below; unlisted sizes will degrade to1:1:
1024x1024/512x512/256x256→1:11792x1024→16:91024x1792→9:16- Parameters such as
n,quality,style,response_format,background,output_format, etc., are not supported; if filled, they will be ignored.- The return structure follows the OpenAI format (
data[].url), butcreatedis fixed at0, andb64_jsonwill not be returned;revised_promptwill always equal the originalprompt.
Basic Call
url field:
Upgrade to the flagship model nano-banana-pro
Simply change model to nano-banana-pro, with all other parameters remaining the same:
Asynchronous Callback
Thecallback_url asynchronous callback mechanism is also effective for nano-banana, and the calling process is completely consistent with other models. For details, see the section Asynchronous Callback below.
Basic Usage
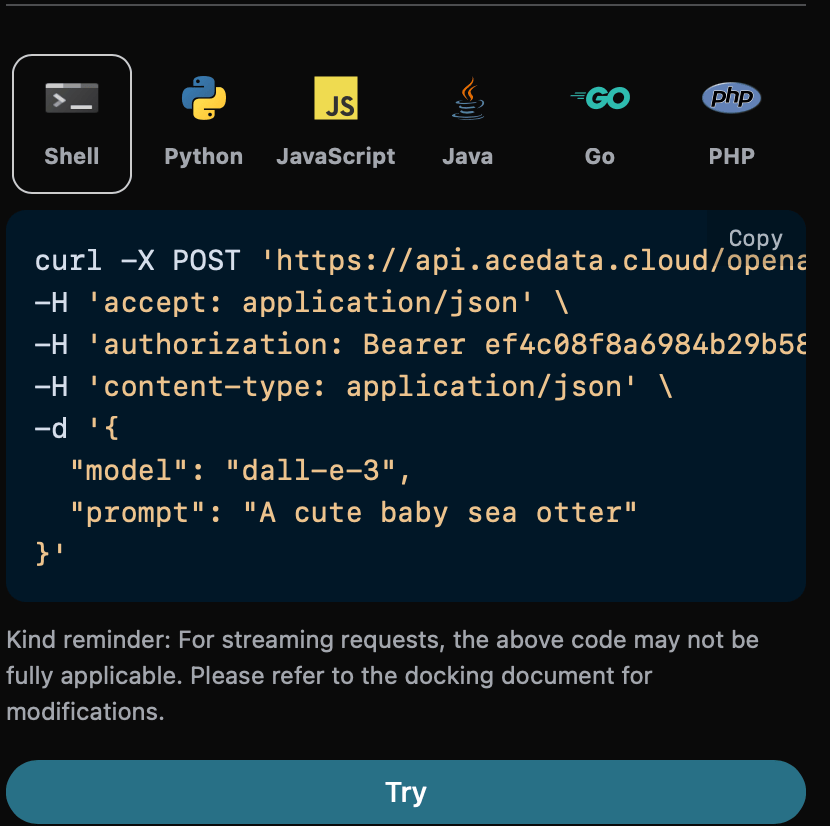
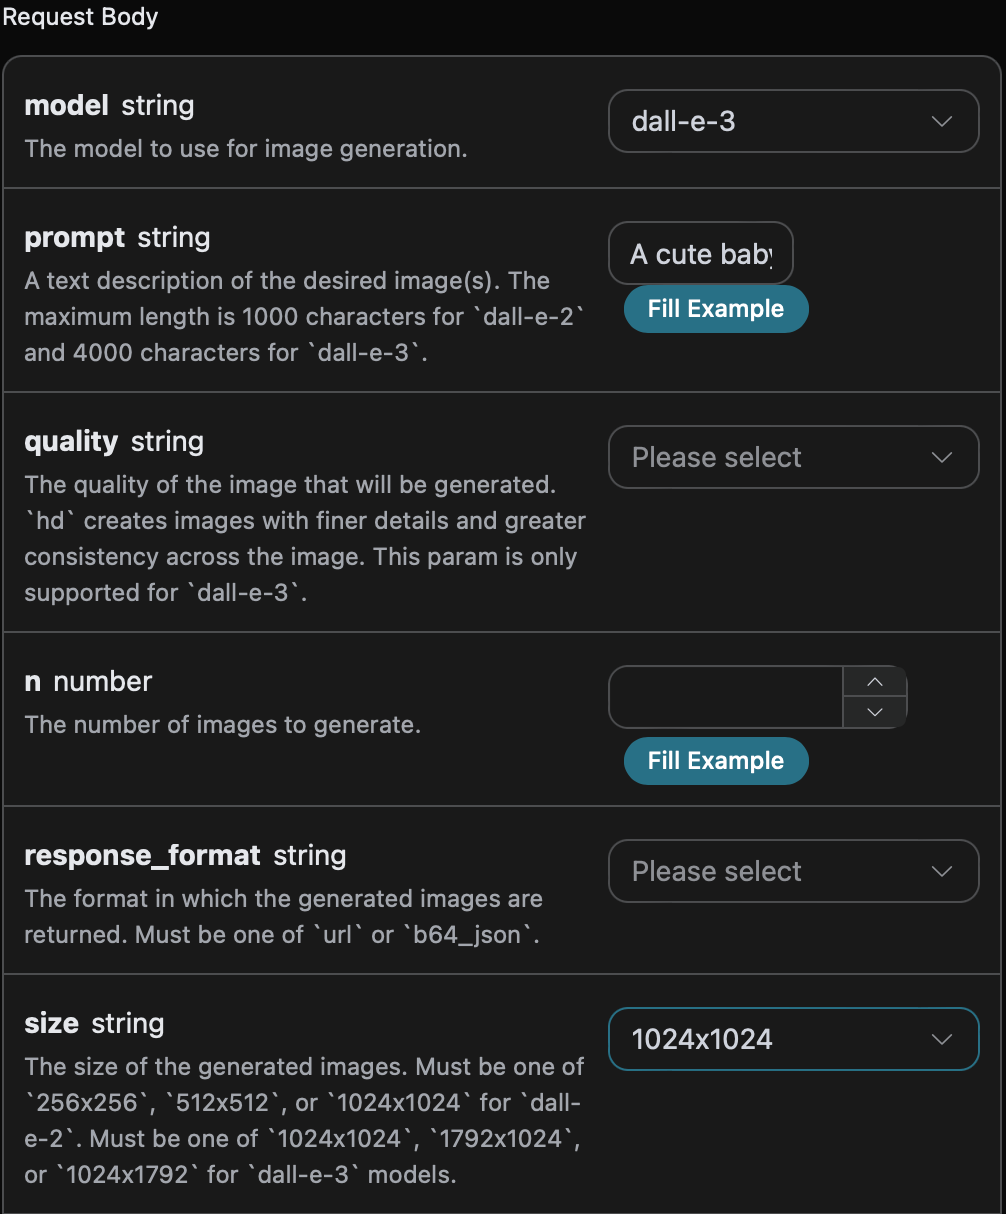
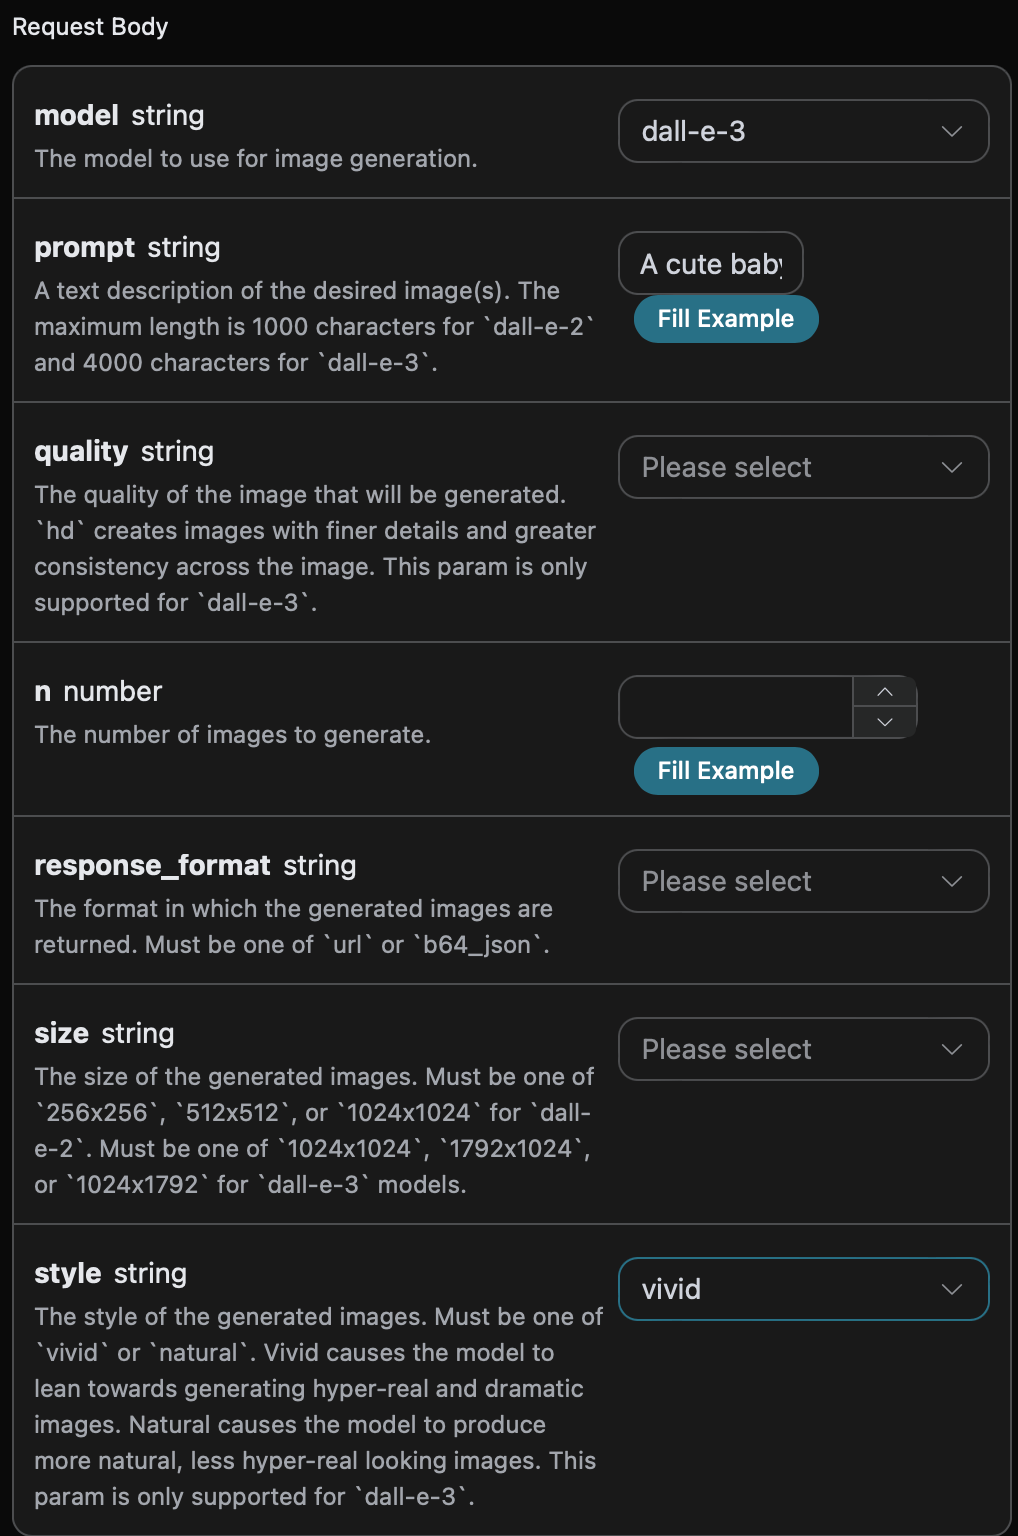
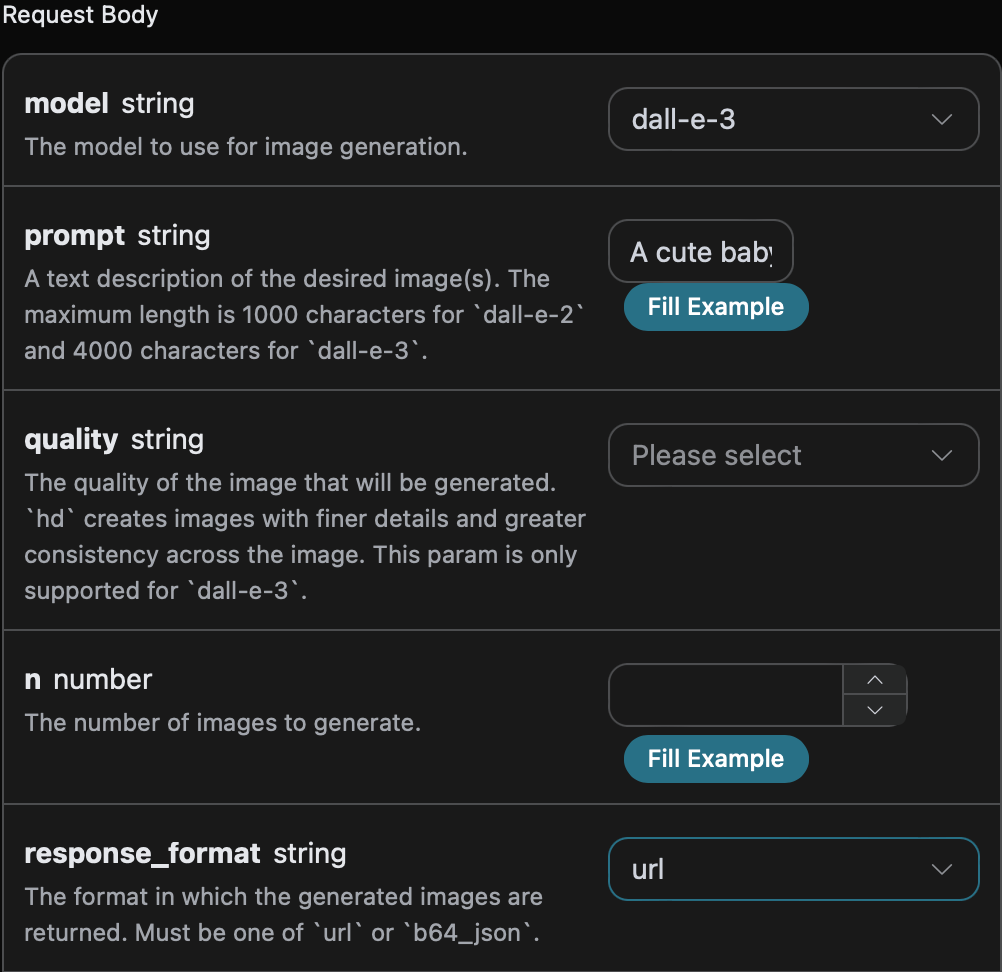
Next, you can fill in the corresponding content on the interface, as shown in the figure: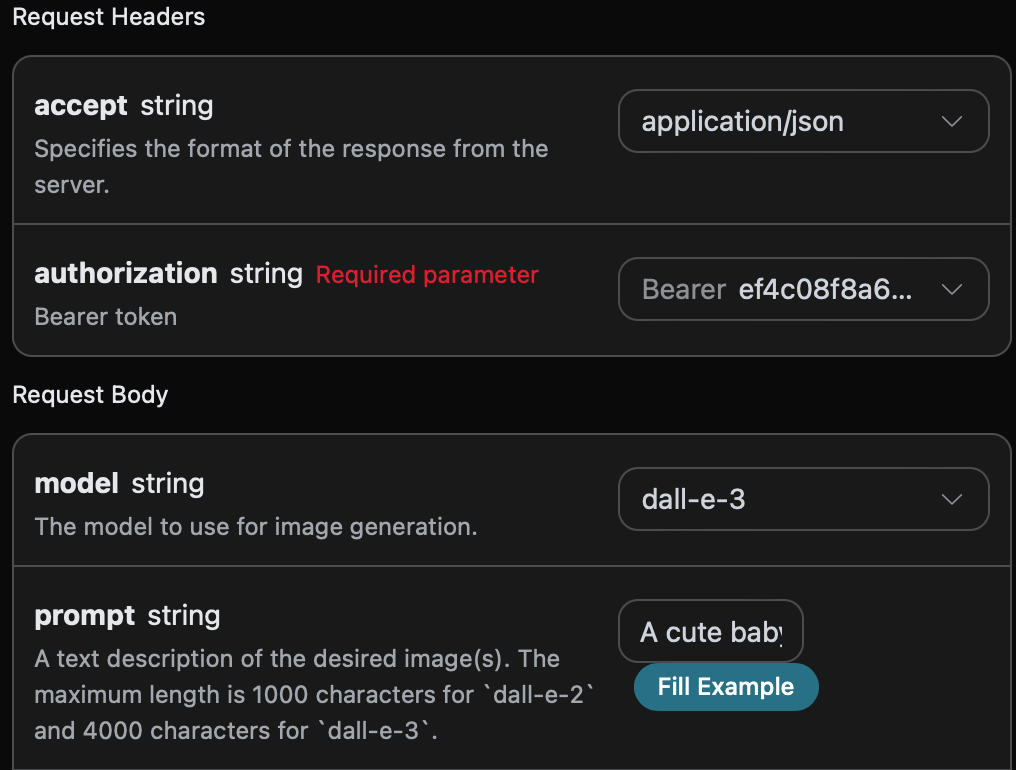
authorization, which can be selected directly from the dropdown list. The other parameter is model, which is the category of the OpenAI DALL-E model we choose to use. Here we mainly have one model; details can be found in the models we provide. The last parameter is prompt, which is the input prompt for generating the image.
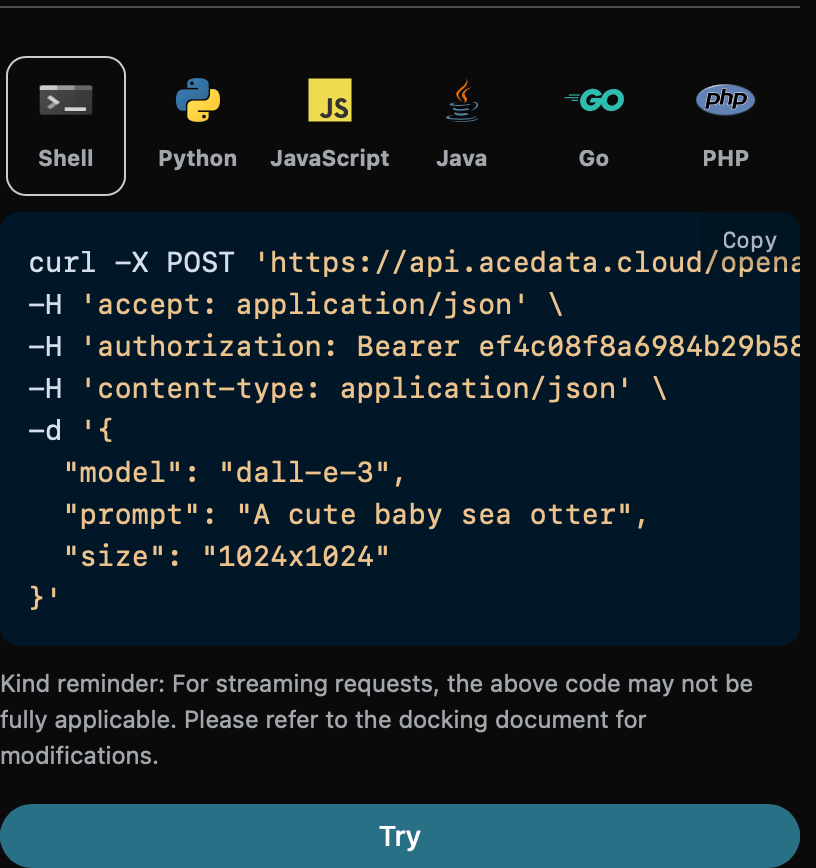
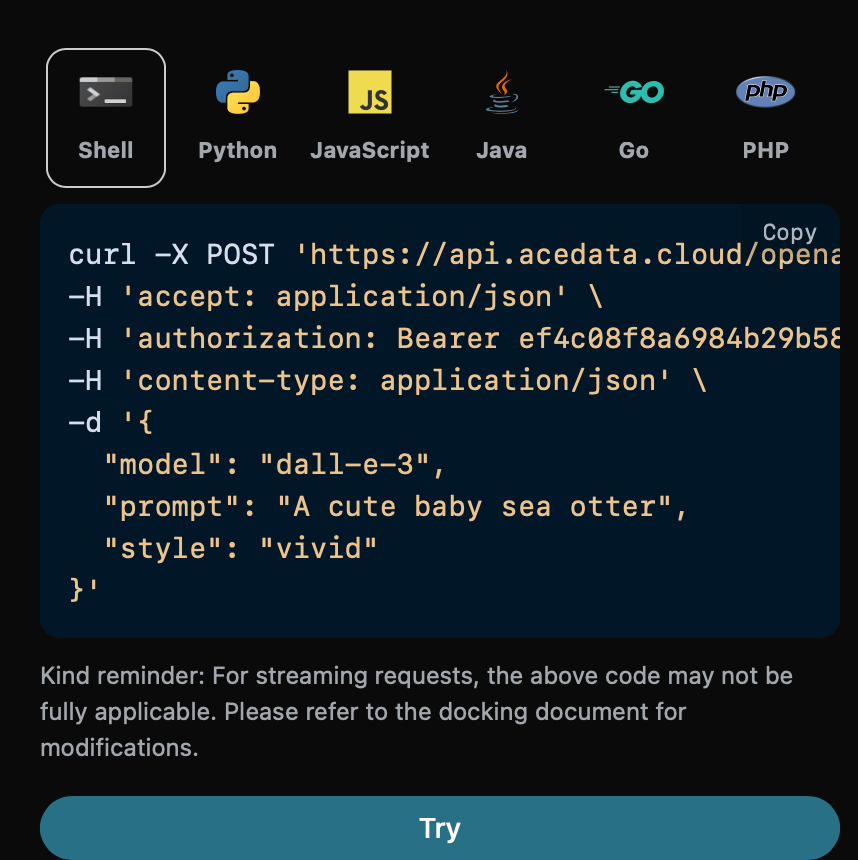
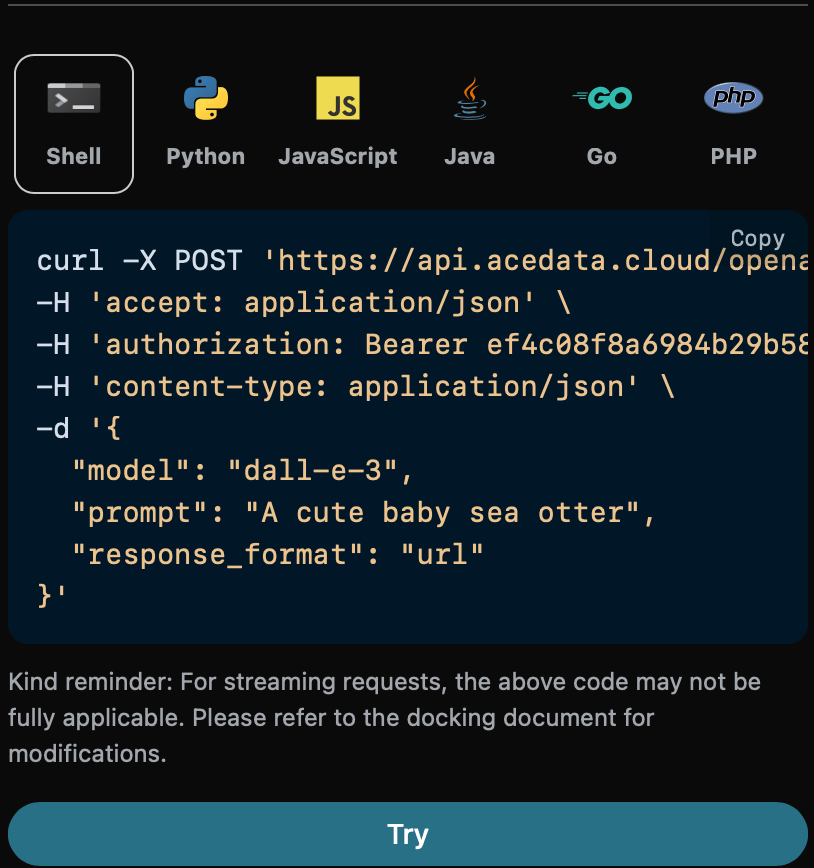
You can also notice that there is corresponding code generation on the right side; you can copy the code to run directly or click the “Try” button for testing.
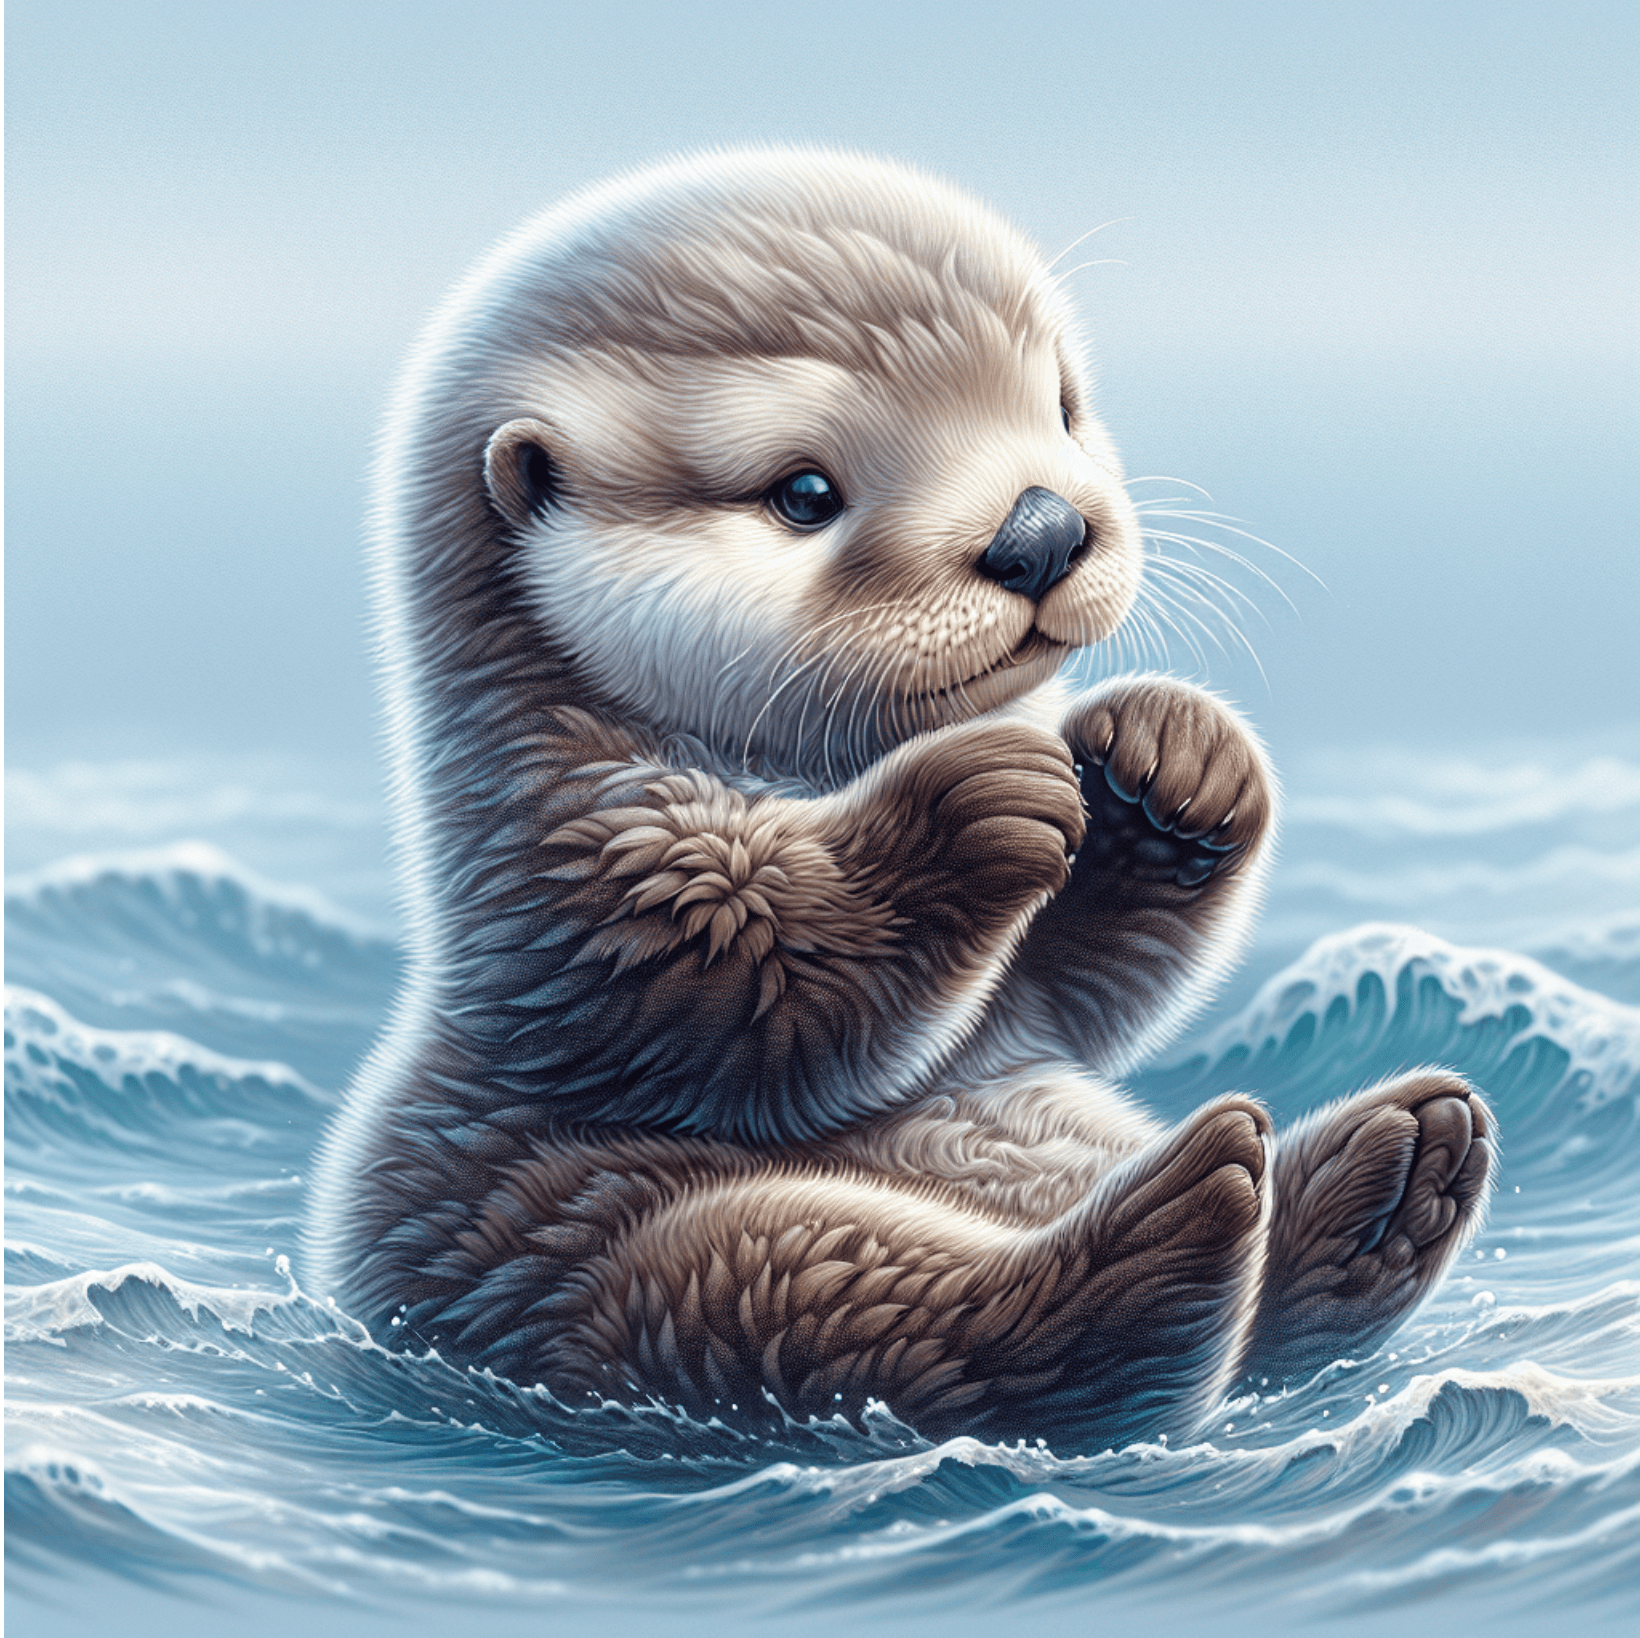
created, the ID of the image generation for this task, used to uniquely identify this task.data, which contains the result information of the image generation.
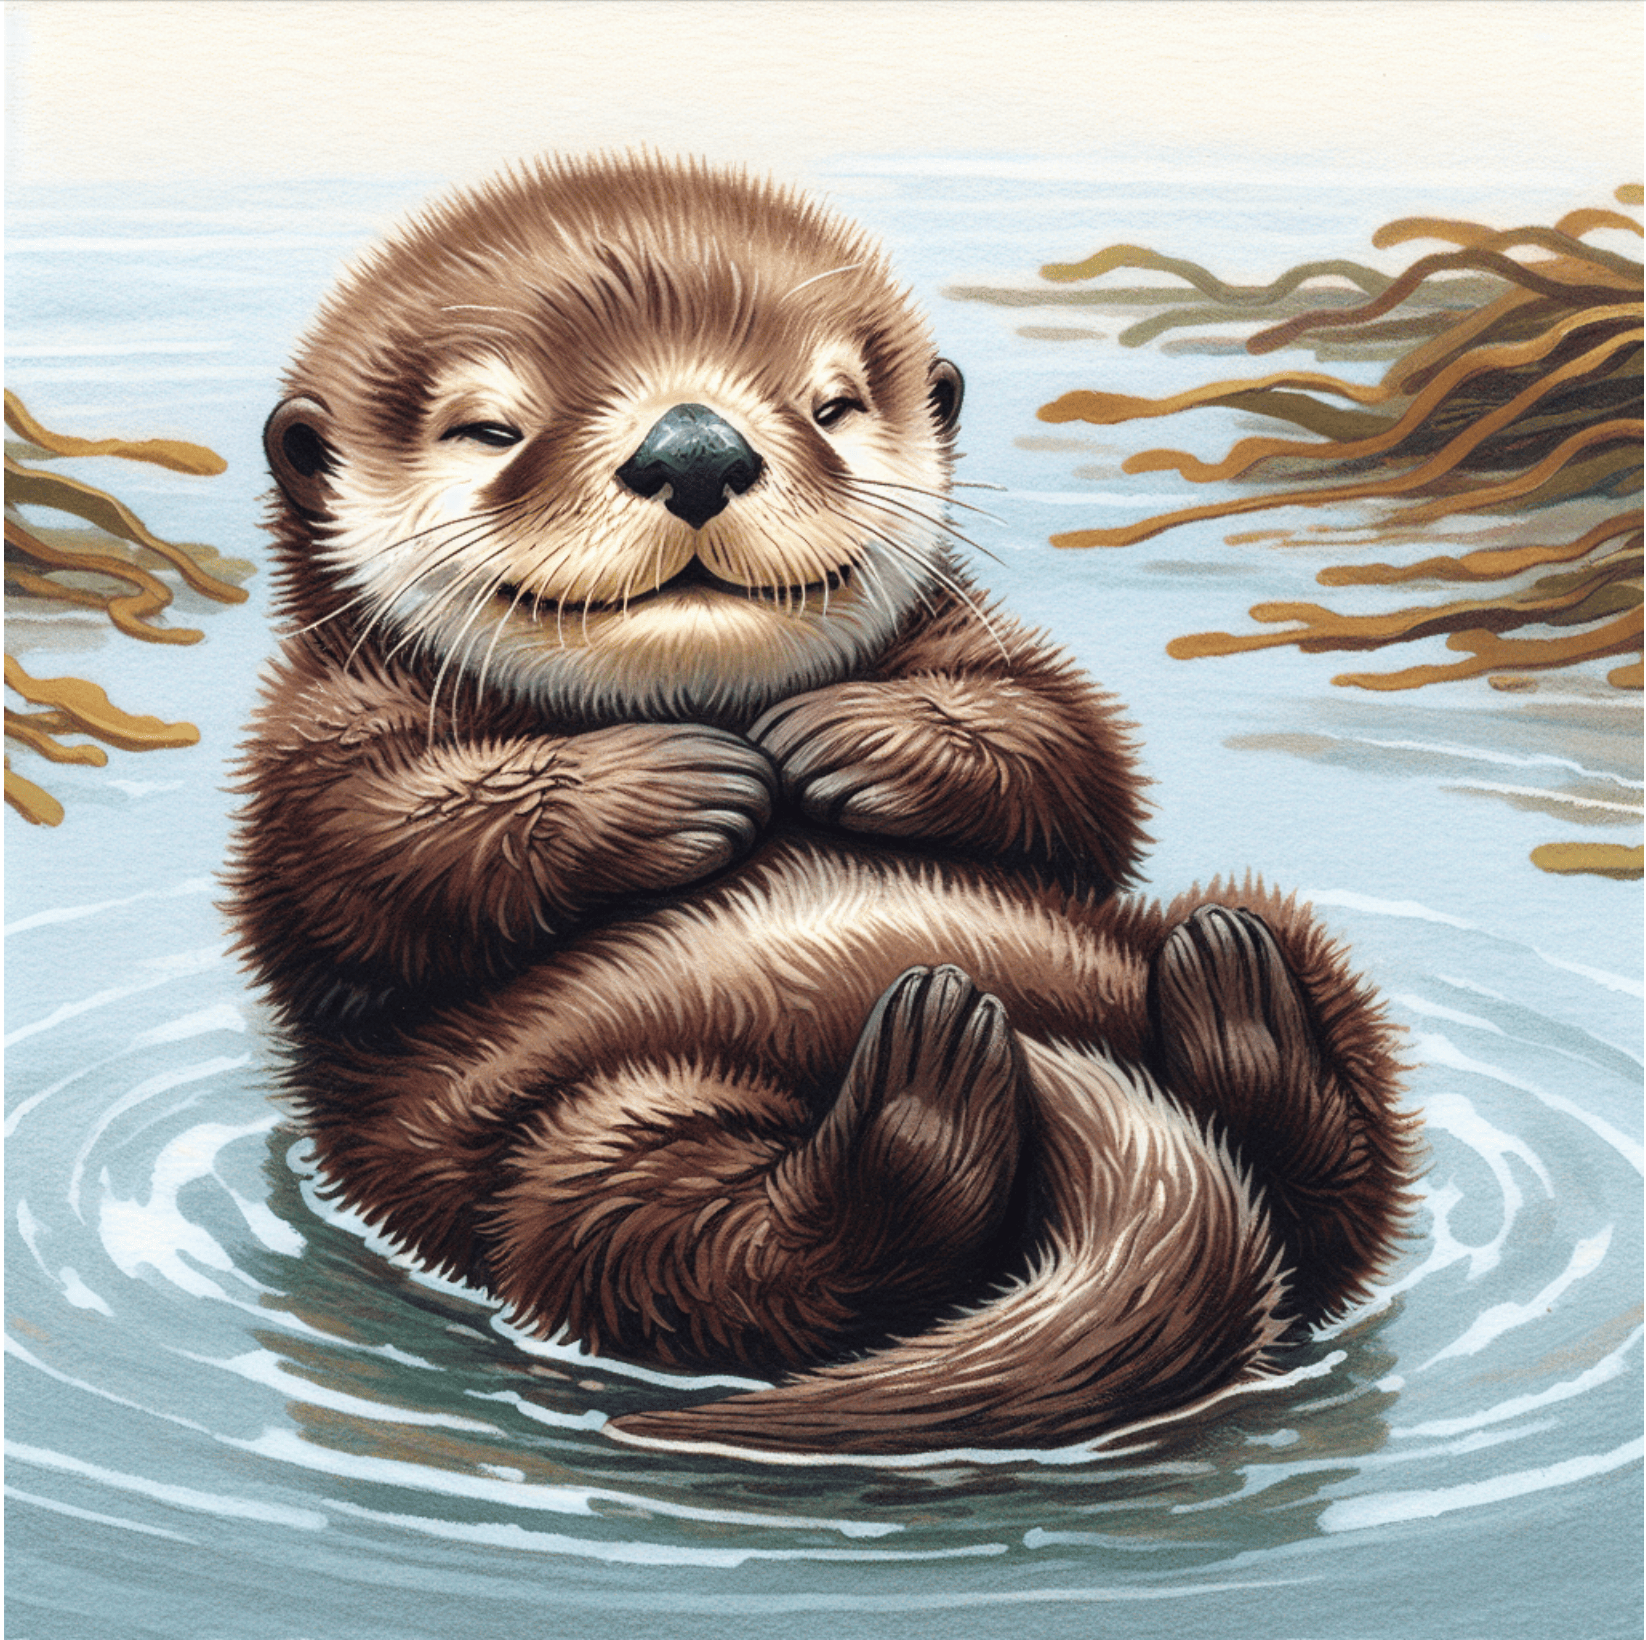
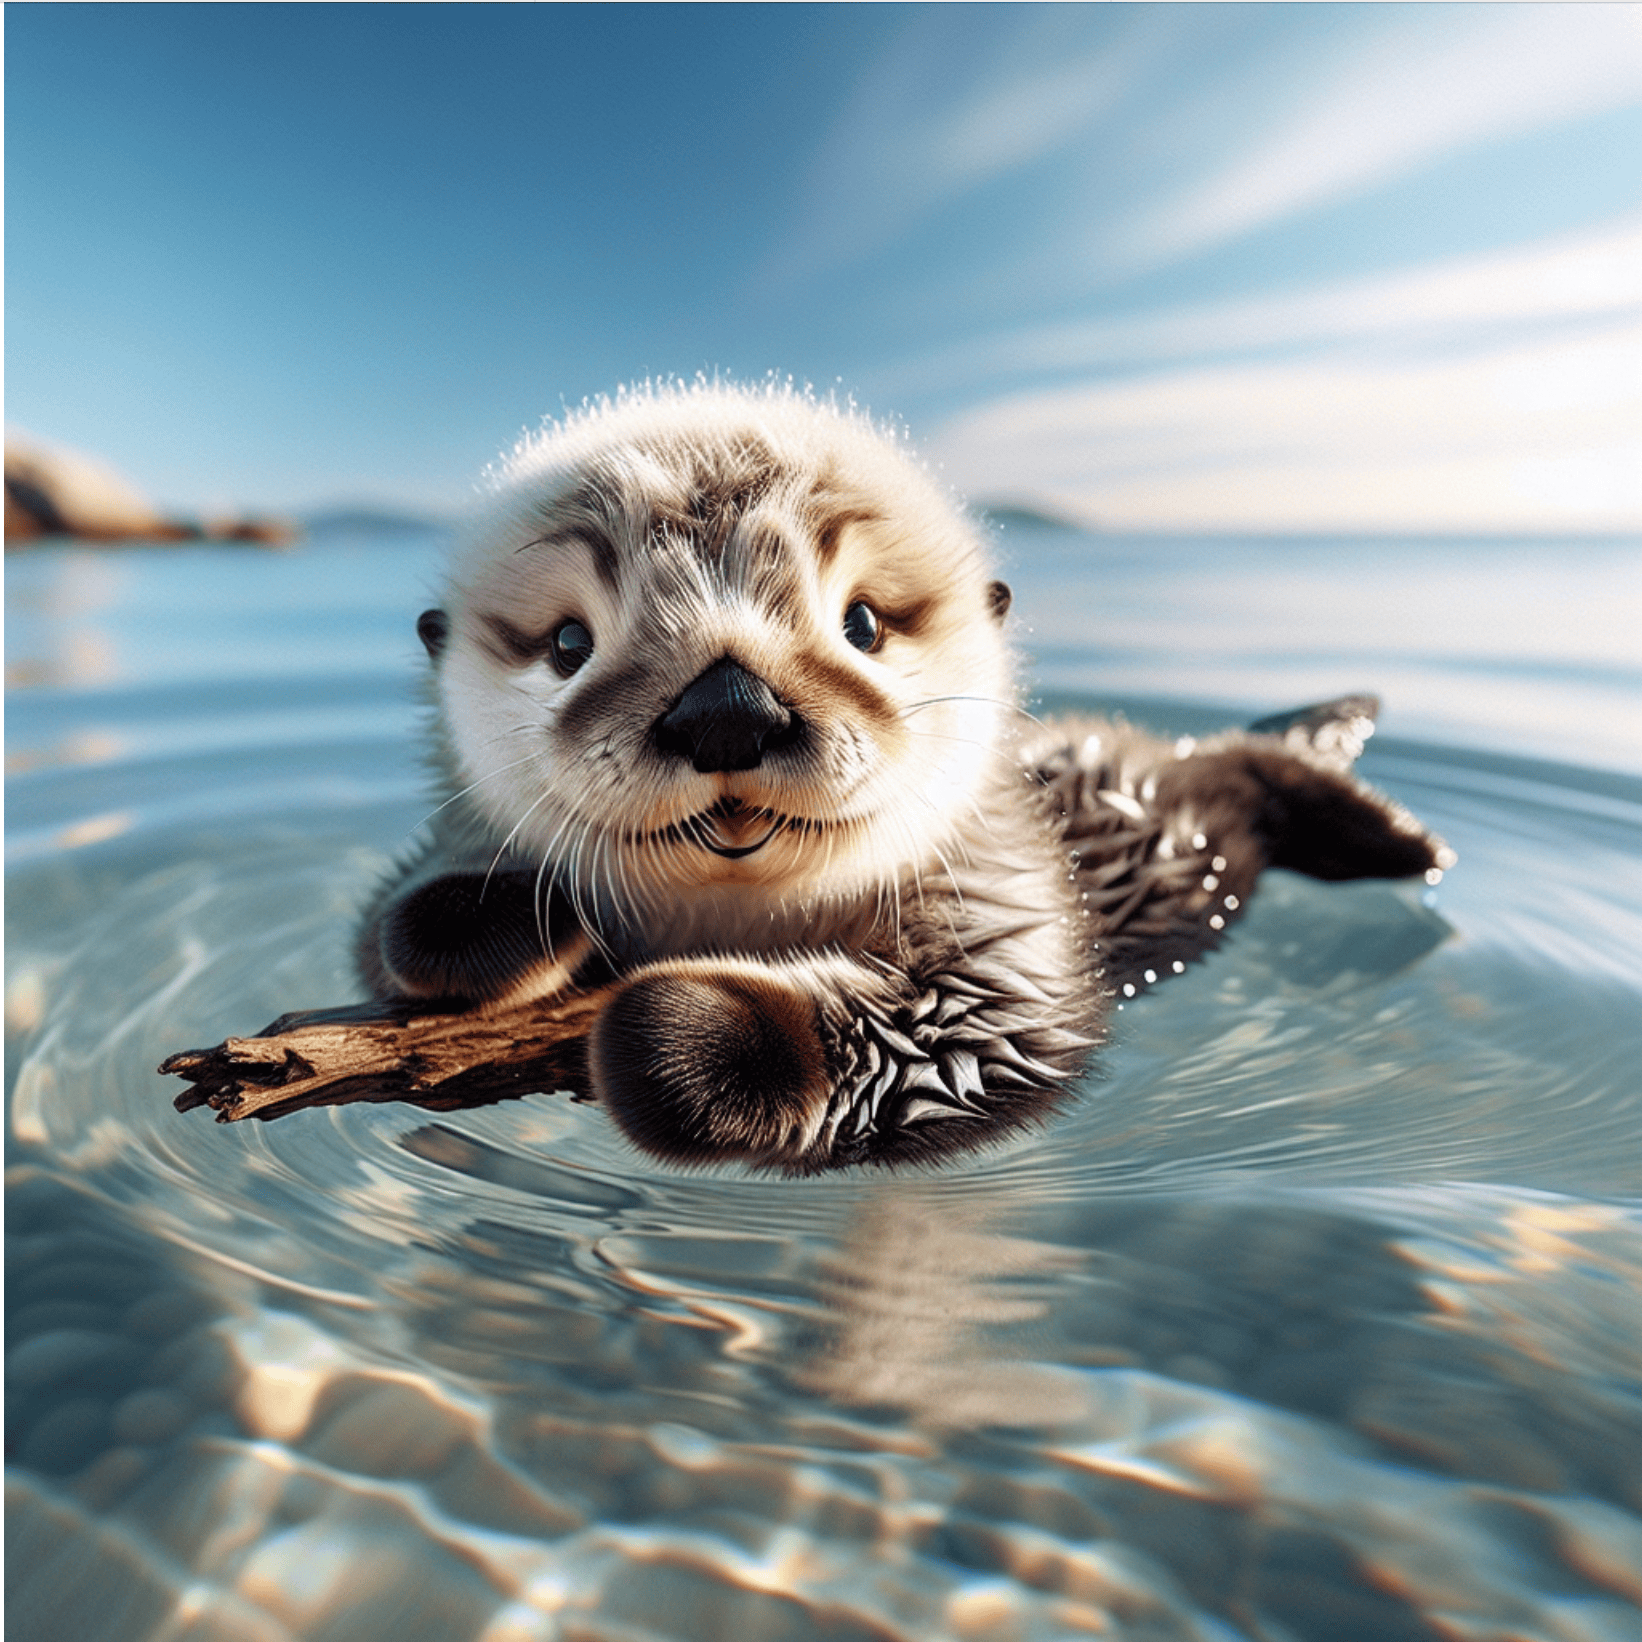
data contains specific information about the images generated by the model, and its url is the detailed link to the generated image, as shown in the figure.
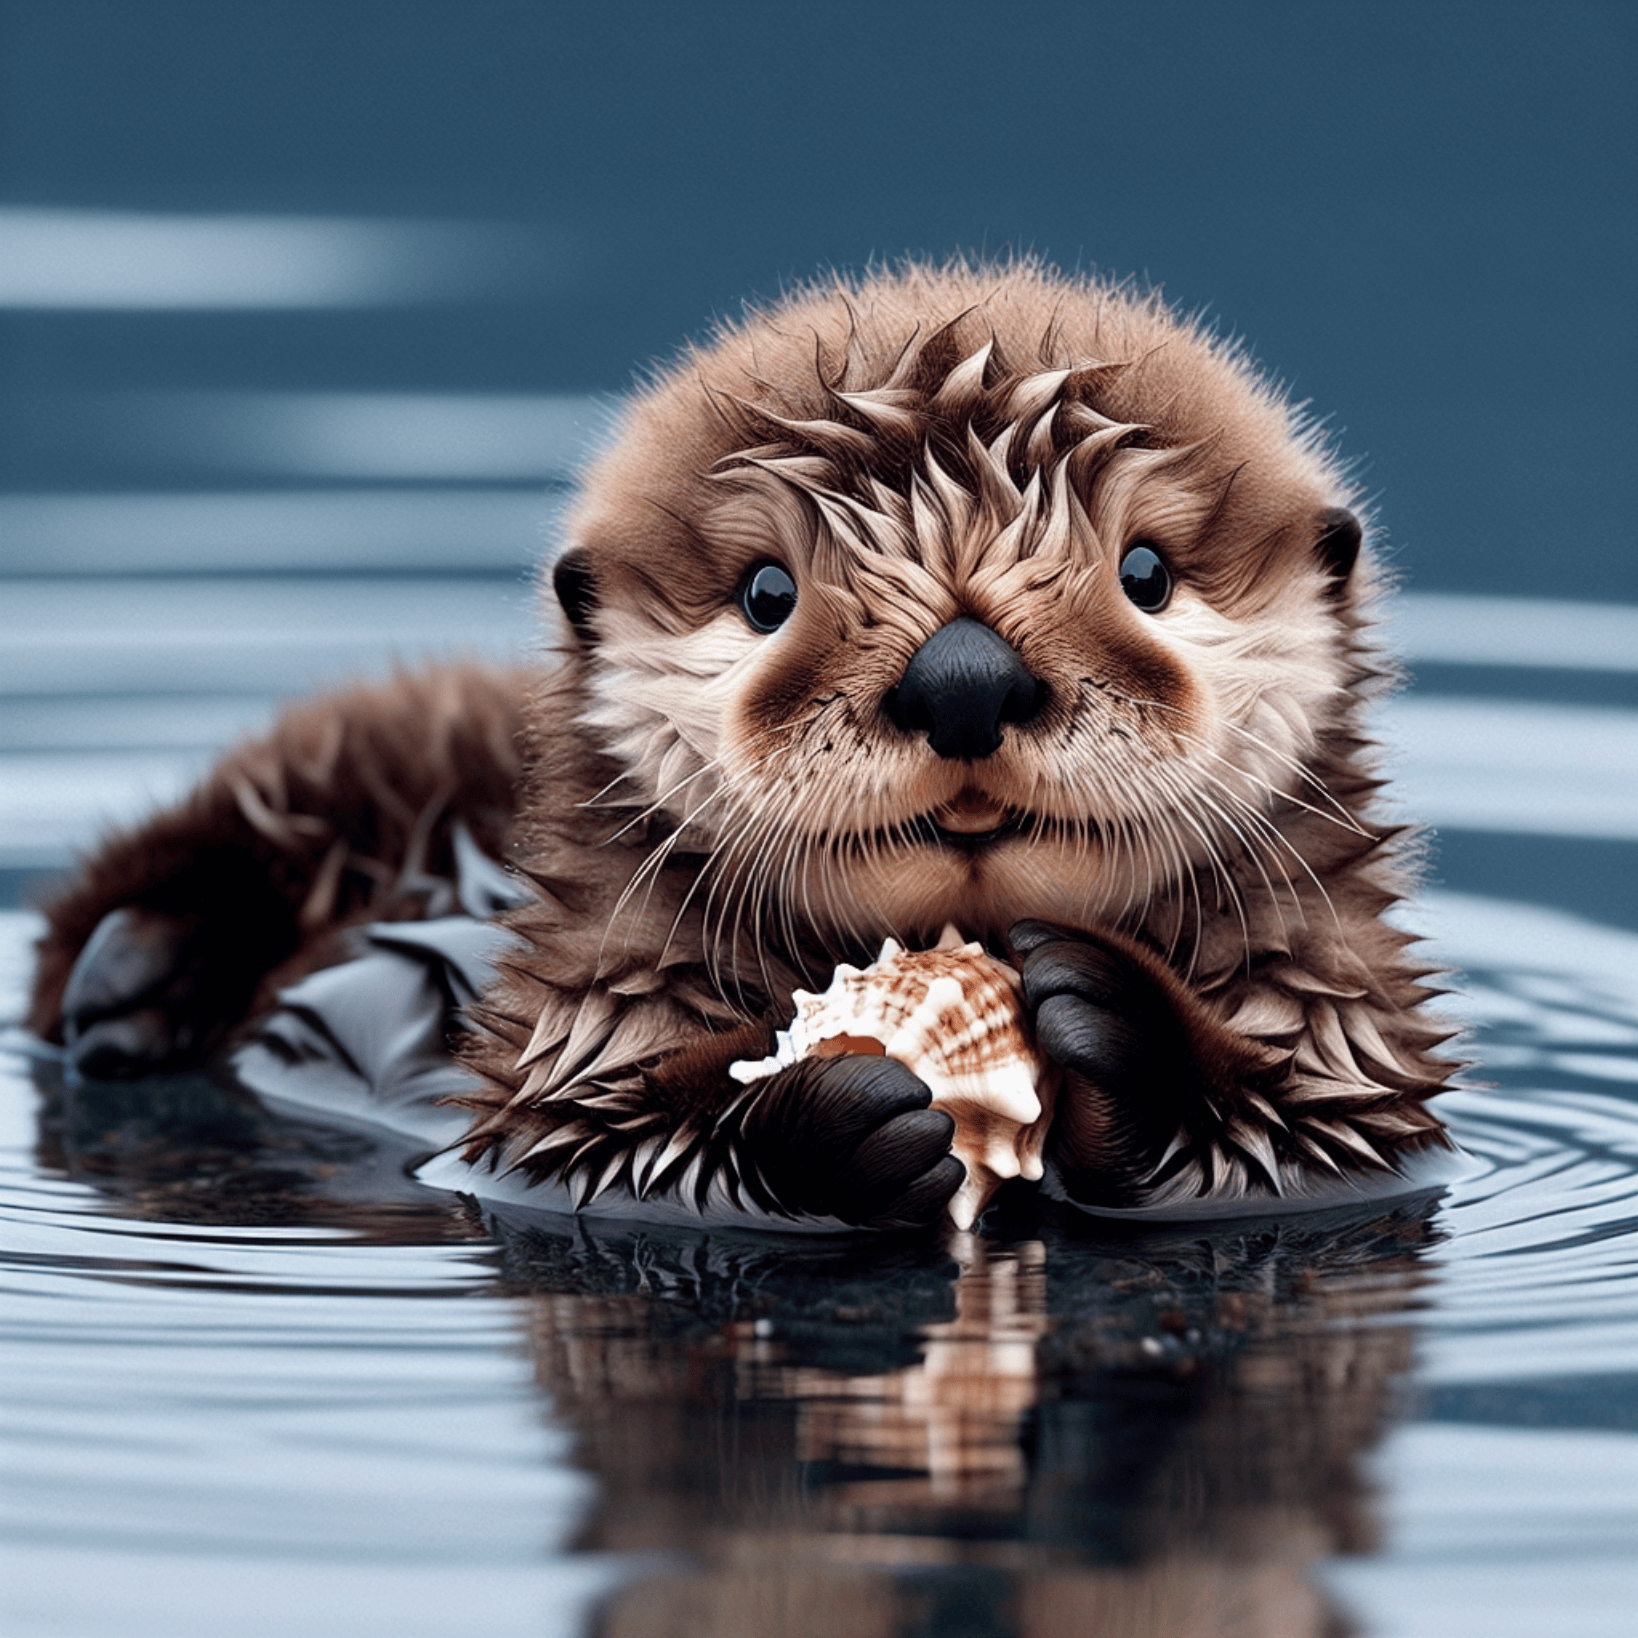
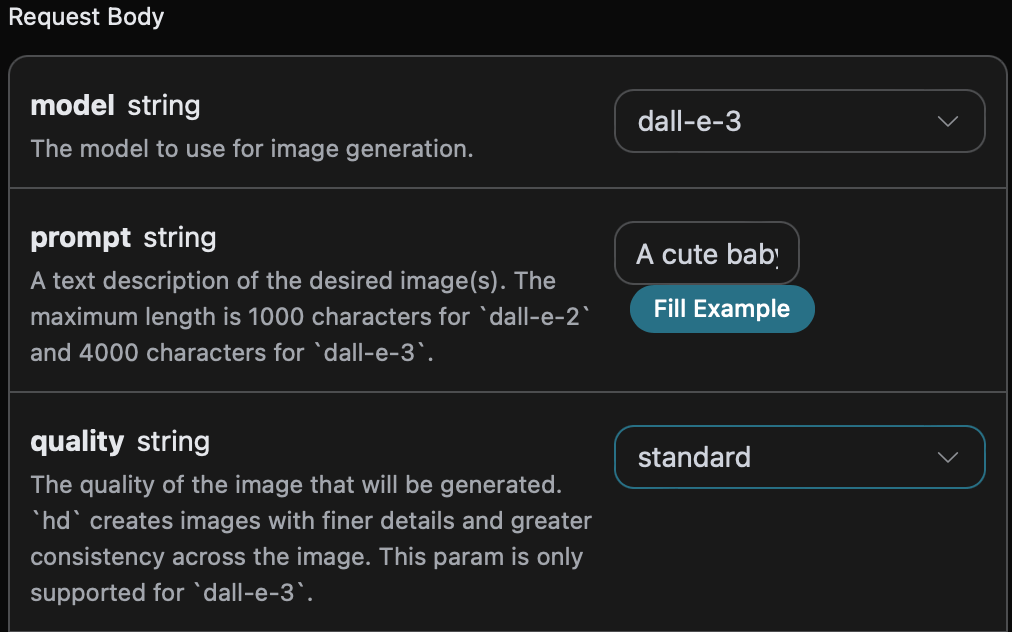
Image Quality Parameter quality
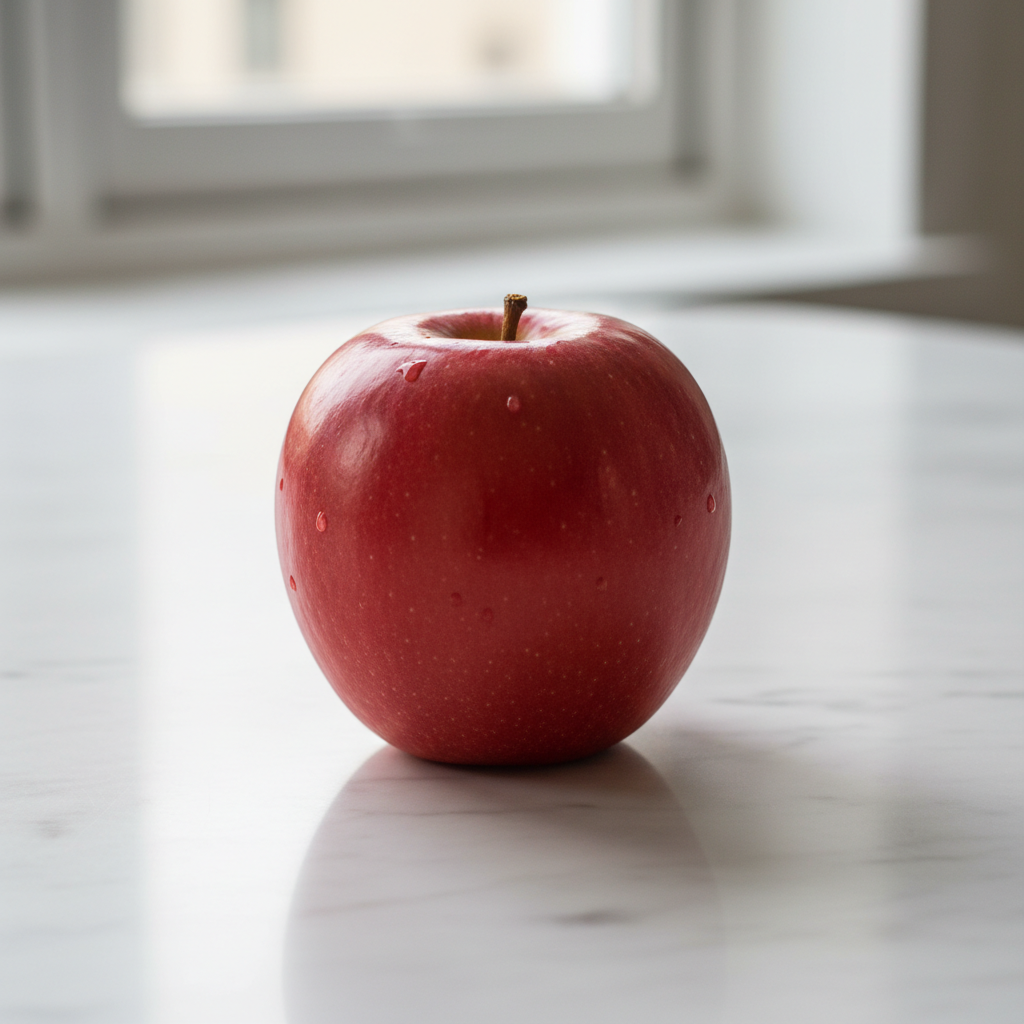
Next, we will introduce how to set some detailed parameters for the image generation results, among which the image quality parameter quality includes two types: the first standard indicates generating standard images, and the other hd indicates that the created image has finer details and greater consistency.
Here, we set the image quality parameter to standard, with specific settings as shown in the figure:
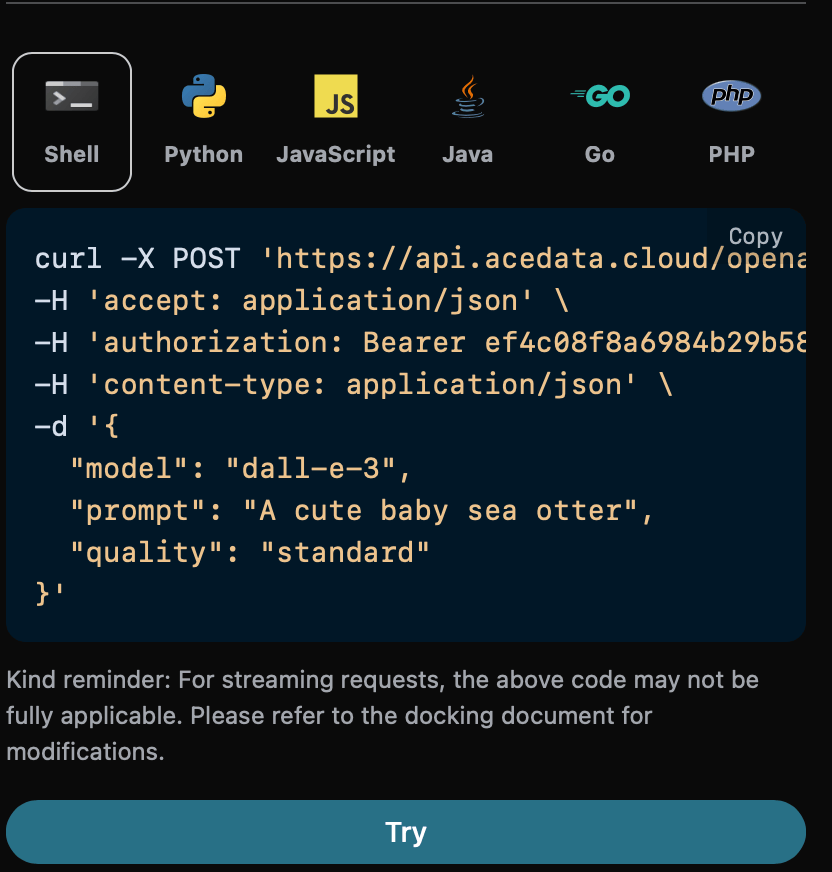
standard as shown in the figure:
hd, and you can obtain the image shown below:

hd generates images with finer details and greater consistency compared to standard.
Image Size Parameter size
We can also set the size of the generated image, and we can make the following settings.
The image size is set to 1024 * 1024, with the specific settings shown in the image below:
1024 * 1024 is shown below:
1792 * 1024, and you can obtain the image shown below:
 It can be seen that the image sizes are obviously different, and more sizes can be set. For detailed information, please refer to our official documentation.
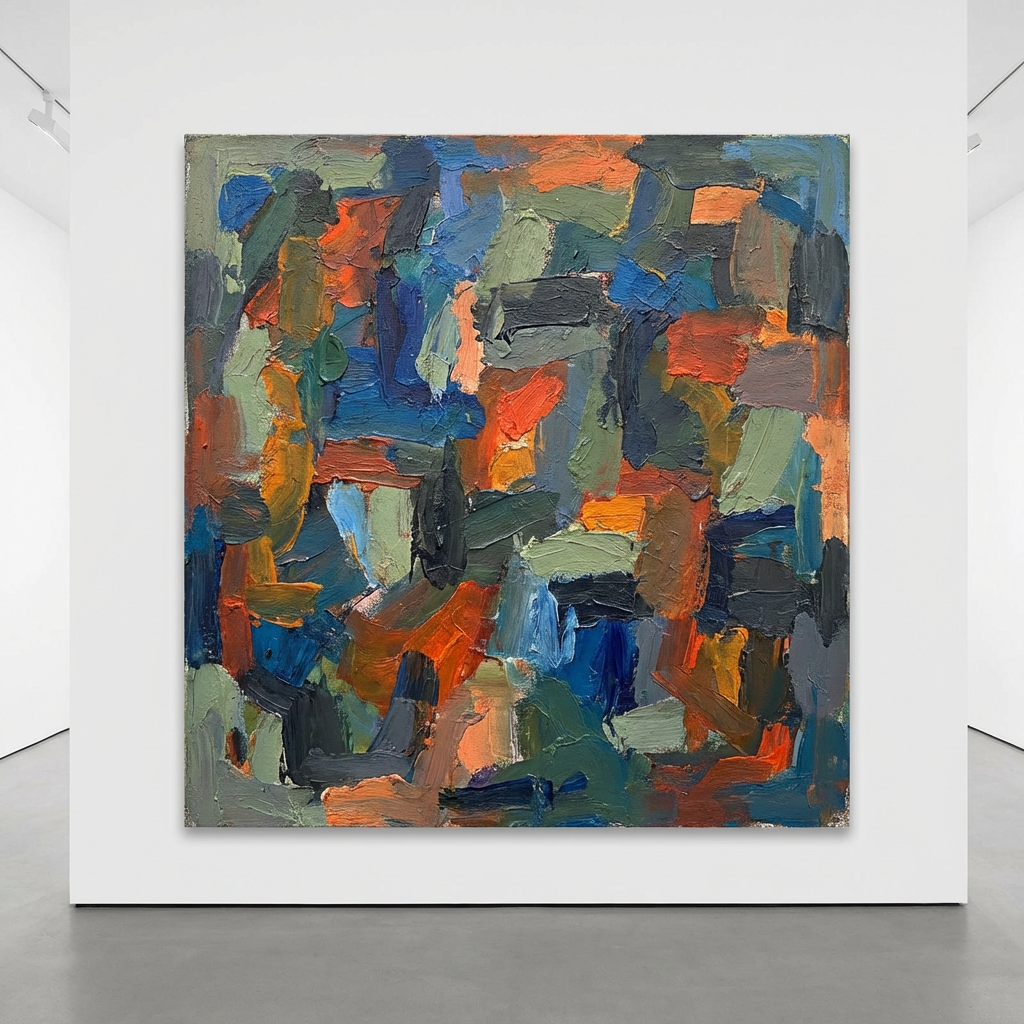
Image Style Parameter style
The image style parameter style includes two parameters, the first vivid indicates that the generated image is more vivid, while the second natural indicates that the generated image is more natural.
The image style parameter is set to vivid, with the specific settings shown in the image below:
vivid is shown below:
natural, and you can obtain the image shown below:
vivid generates images that are more vivid and realistic compared to natural.
Image Link Format Parameter response_format
The last image link format parameter response_format also has two types, the first b64_json is for Base64 encoding of the image link, while the second url is a regular image link that can be viewed directly.
The image link format parameter is set to url, with the specific settings shown in the image below:
url is Image URL which can be accessed directly, and the image content is shown below:
b64_json, we can obtain the result of the Base64 encoded image link, with the specific result shown below:
Asynchronous Callback
Since the OpenAI Images Generations API may take a relatively long time to generate images, if the API does not respond for a long time, the HTTP request will keep the connection open, leading to additional system resource consumption. Therefore, this API also provides support for asynchronous callbacks. The overall process is: when the client initiates a request, an additionalcallback_url field is specified. After the client initiates the API request, the API will immediately return a result containing a task_id field information, representing the current task ID. When the task is completed, the generated image result will be sent to the client-specified callback_url in the form of a POST JSON, which also includes the task_id field, allowing the task result to be associated by ID.
Let’s understand how to operate specifically through an example.
First, the Webhook callback is a service that can receive HTTP requests, and developers should replace it with the URL of their own HTTP server. For demonstration purposes, we use a public Webhook sample site https://webhook.site/, where you can open the site to get a Webhook URL, as shown in the figure:
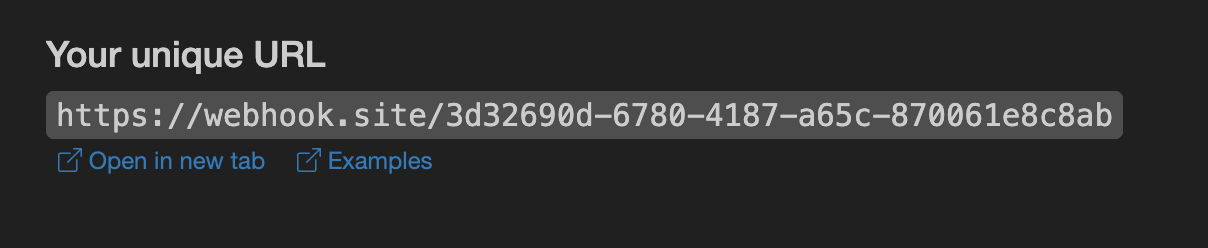 Copy this URL, and it can be used as a Webhook. The sample here is
 https://webhook.site/3d32690d-6780-4187-a65c-870061e8c8ab.
Next, we can set the callback_url field to the above Webhook URL, while filling in the corresponding parameters, as shown in the following code:
task_id field, and the data field includes the same image generation result as the synchronous call, allowing the task to be associated through the task_id field.
Error Handling
When calling the API, if an error occurs, the API will return the corresponding error code and message. For example:400 token_mismatched: Bad request, possibly due to missing or invalid parameters.400 api_not_implemented: Bad request, possibly due to missing or invalid parameters.401 invalid_token: Unauthorized, invalid or missing authorization token.429 too_many_requests: Too many requests, you have exceeded the rate limit.500 api_error: Internal server error, something went wrong on the server.