申請流程
要使用 OpenAI Images Edits API,首先可以到 OpenAI Images Edits API 頁面點擊「Acquire」按鈕,獲取請求所需要的憑證: 如果你尚未登入或註冊,會自動跳轉到登入頁面邀請您來註冊和登入,登入註冊之後會自動返回當前頁面。
在首次申請時會有免費額度贈送,可以免費使用該 API。
如果你尚未登入或註冊,會自動跳轉到登入頁面邀請您來註冊和登入,登入註冊之後會自動返回當前頁面。
在首次申請時會有免費額度贈送,可以免費使用該 API。
基本使用
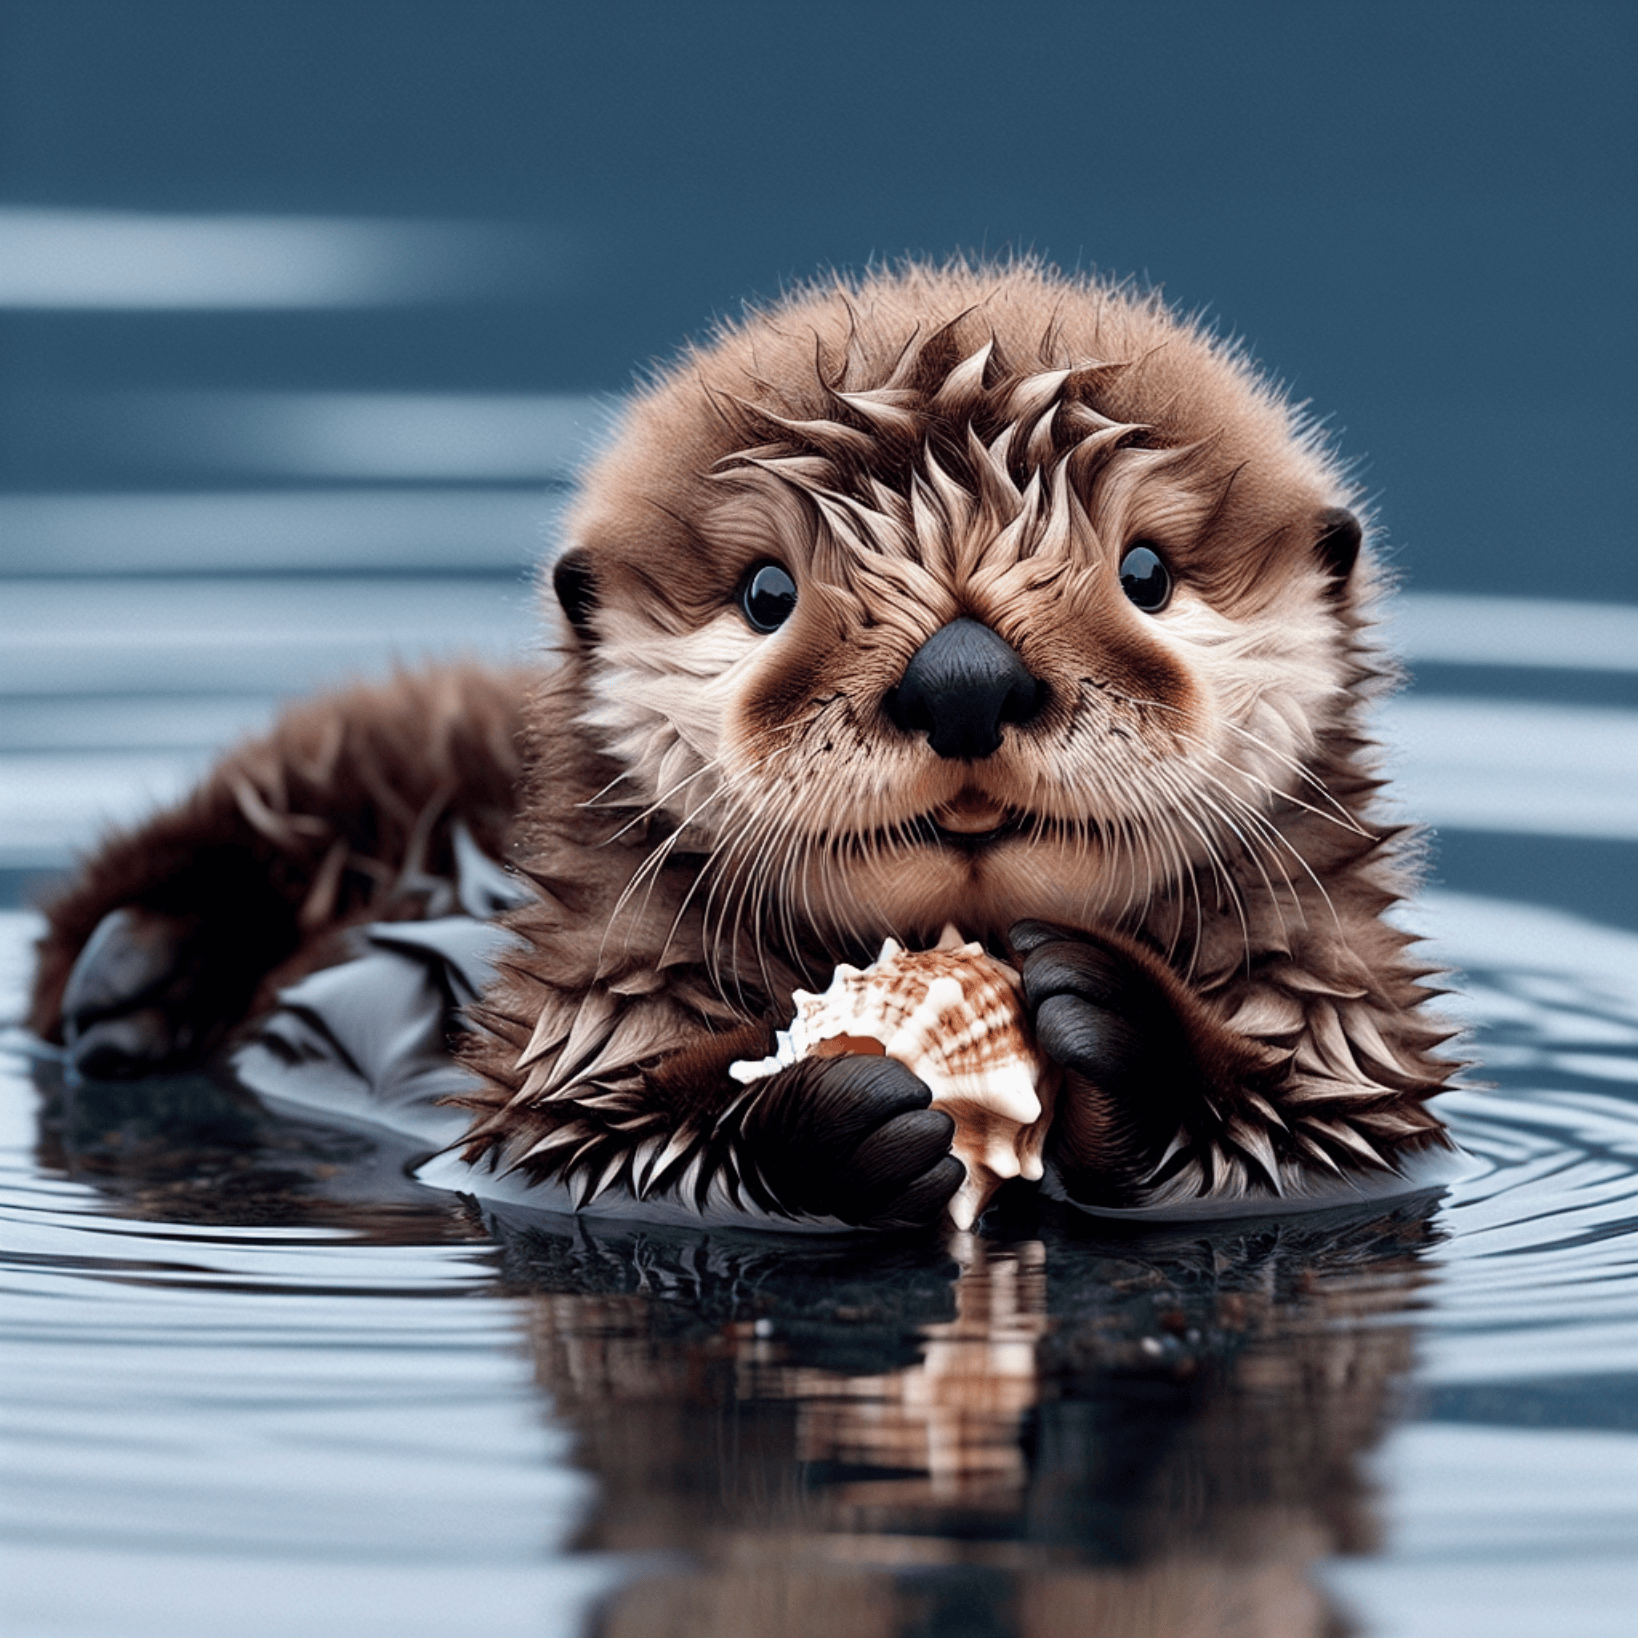
接下來就可以使用代碼進行調用,下方是通過CURL進行調用:authorization,直接在下拉列表裡面選擇即可。另一個參數是 model, model 就是我們選擇使用 OpenAI 官網模型類別,這裡我們主要有 1 種模型,詳情可以看我們提供的模型。還有一個參數是prompt,prompt 是我們輸入要生成圖像的提示詞。最後一個參數是image,這個參數需要編輯的圖片路徑,需要編輯的圖片如下圖所示:
OPENAI_BASE_URL,可以設置為https://api.acedata.cloud/openai,還有一個使用憑證變量OPENAI_API_KEY,這個值是從authorization獲取到的,在Mac OS可以通過以下命令設置環境變量:
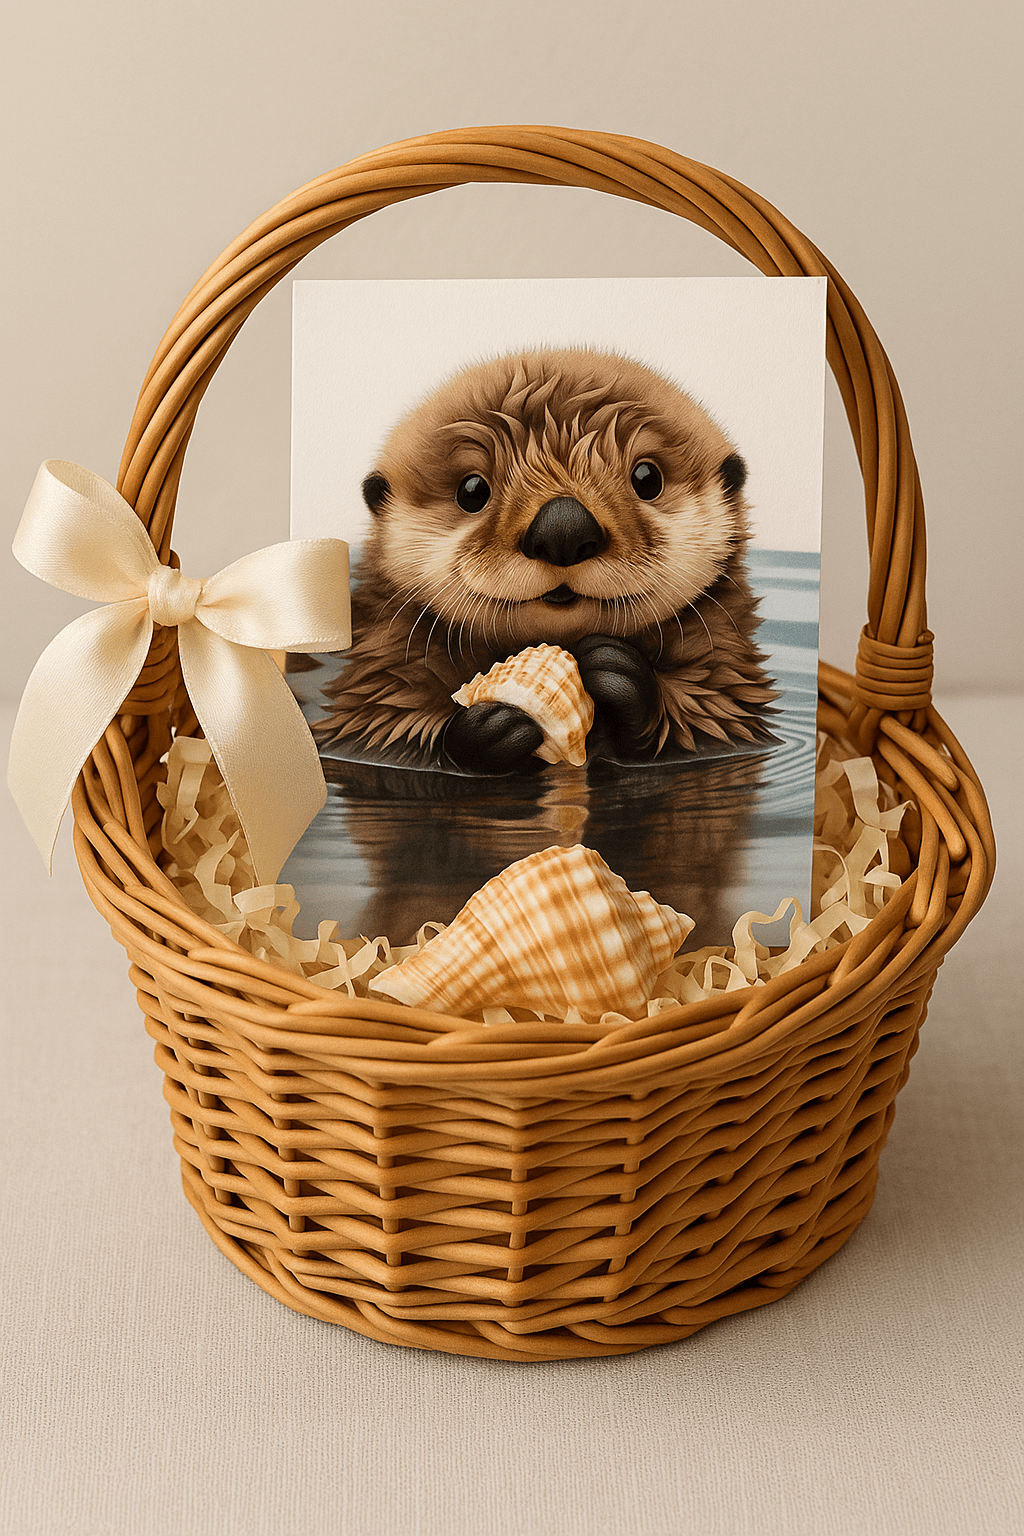
gift-basket.png,具體的結果如下:
dall-e-2,gpt-image-1。
非同步回調
由於 OpenAI Images Edits API 編輯圖片的時間可能相對較長,如果 API 長時間無響應,HTTP 請求會一直保持連接,導致額外的系統資源消耗,所以本 API 也提供了非同步回調的支持。 整體流程是:客戶端發起請求的時候,額外指定一個callback_url 欄位,客戶端發起 API 請求之後,API 會立馬返回一個結果,包含一個 task_id 的欄位信息,代表當前的任務 ID。當任務完成之後,編輯圖片的結果會通過 POST JSON 的形式發送到客戶端指定的 callback_url,其中也包括了 task_id 欄位,這樣任務結果就可以通過 ID 關聯起來了。
下面我們通過示例來了解下具體怎樣操作。
首先,Webhook 回調是一個可以接收 HTTP 請求的服務,開發者應該替換為自己搭建的 HTTP 伺服器的 URL。此處為了方便演示,使用一個公開的 Webhook 樣例網站 https://webhook.site/,打開該網站即可得到一個 Webhook URL,如圖所示:
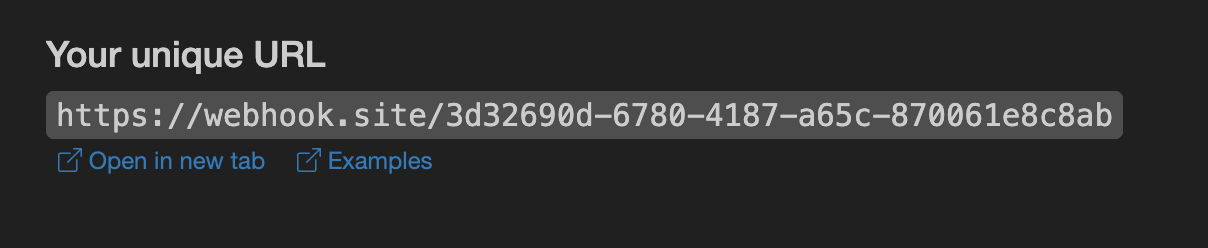 將此 URL 複製下來,就可以作為 Webhook 來使用,此處的樣例為
 https://webhook.site/3d32690d-6780-4187-a65c-870061e8c8ab。
接下來,我們可以設置欄位 callback_url 為上述 Webhook URL,同時填入相應的參數,如以下代碼所示:
task_id 欄位,data 欄位包含了和同步調用一樣的圖片編輯結果,通過 task_id 欄位即可實現任務的關聯。
錯誤處理
在調用 API 時,如果遇到錯誤,API 會返回相應的錯誤代碼和信息。例如:400 token_mismatched:Bad request, possibly due to missing or invalid parameters.400 api_not_implemented:Bad request, possibly due to missing or invalid parameters.401 invalid_token:Unauthorized, invalid or missing authorization token.429 too_many_requests:Too many requests, you have exceeded the rate limit.500 api_error:Internal server error, something went wrong on the server.